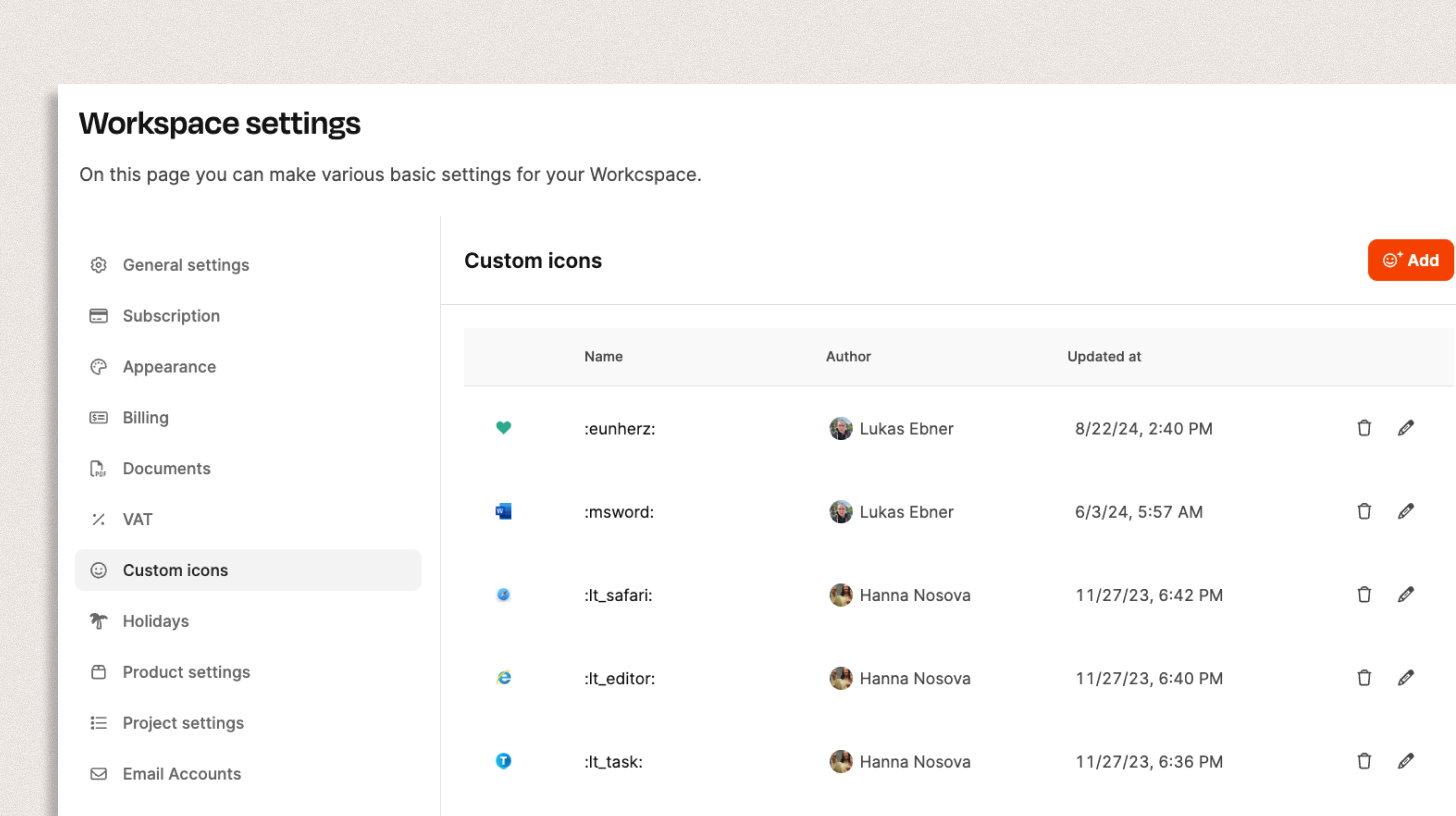
Found under Administration → Workspace Settings → Custom Icons
In this section, you can upload your own icons for your workspace. This feature helps you organize information visually and makes content easier to grasp quickly.
Custom icons can be used, for example, to clearly tag tickets, projects, or docs — like with icons for certain topics, priorities, or departments.
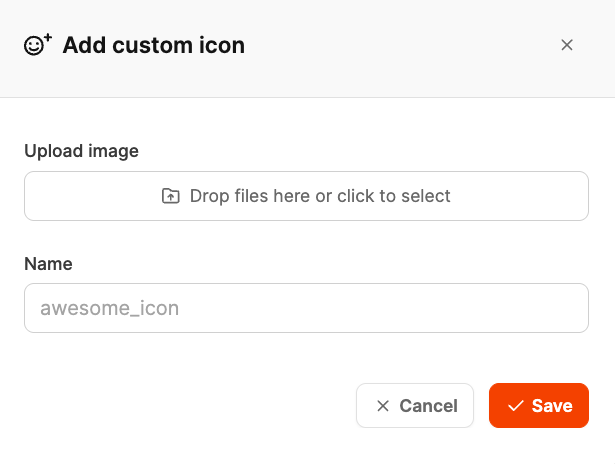
To create a custom icon:
Open Administration → Workspace Settings → Custom Icons.
Click Add.
Upload an image in PNG or SVG format.
Give it a unique icon name (for example: :lt_editor: or :team_sales:).
Click Save to make the icon available in your workspace.
The new icon is now available to all users in your workspace. It can be used in different places – like in
projects
tickets
documents
organization or staff profiles.
All existing icons are shown in a list, including
Name (e.g. :msword:),
Author,
Date of last edit.
With the symbol list, you can edit or delete existing icons.
This way, you always stay in control of your workspace’s visual appearance.
