Object types define how objects work in your workspace. They decide which statuses are available, which custom fields are shown, and which information appears in lists or headers. A good object type setup gives your team a consistent structure from the start.
Not every object should look the same. A rental unit needs different information than a medical device or a server.
With object types, you can tailor the setup to your actual business model.
Typical benefits:
Clear structure: each object category gets its own setup
Relevant fields only: users only see the information that matters
Better list views: important fields can appear directly in the objects grid
Better detail views: key fields can be highlighted in the object header
This keeps data entry cleaner and makes the objects area easier to use later.
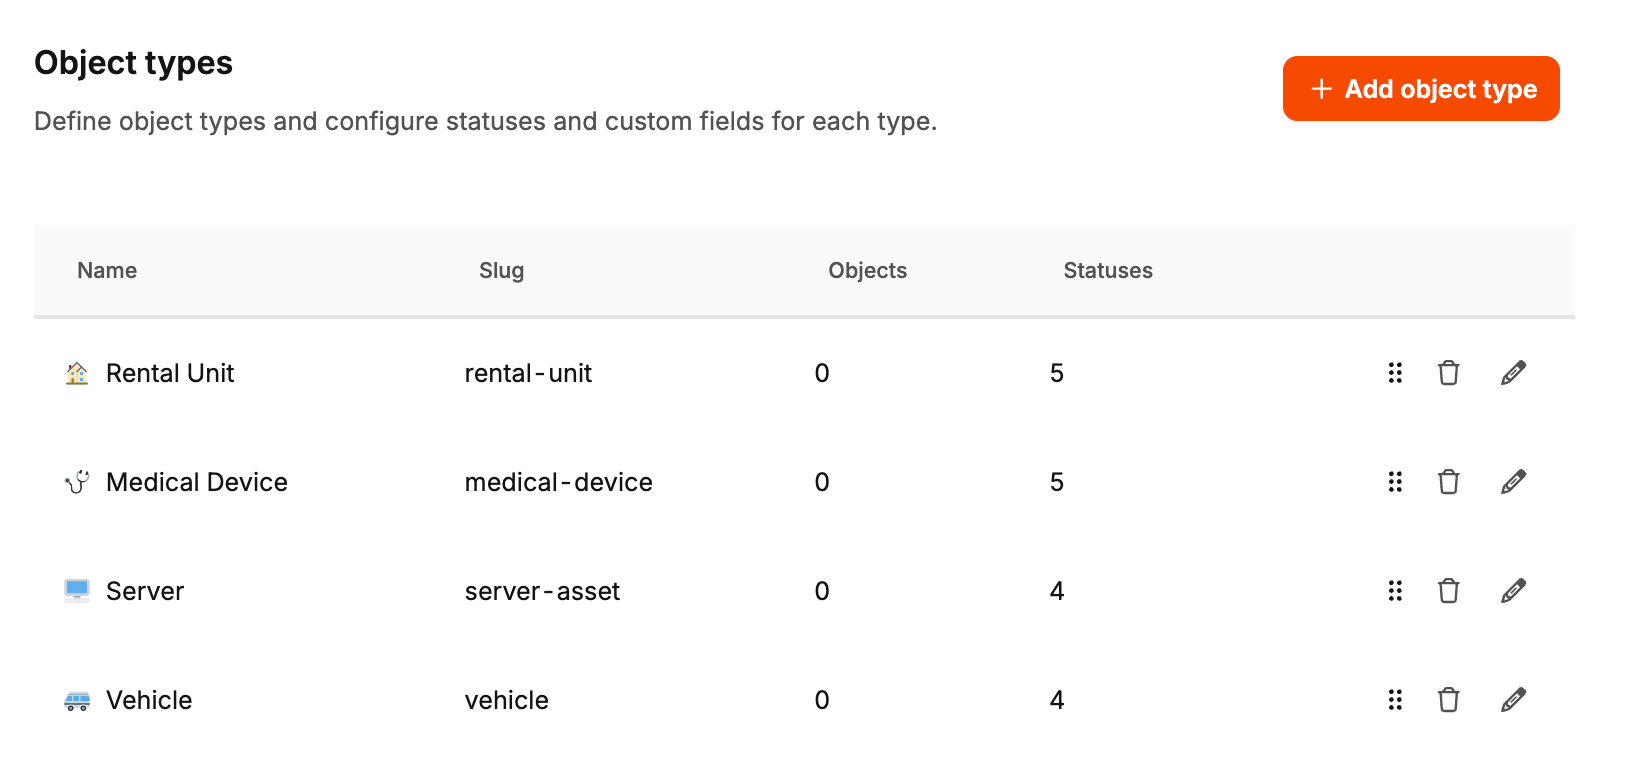
To configure a new object type, open the administration area for object types and create a new entry. The same dialog is used when you edit an existing type — including statuses, custom fields, and (per field) Show in list / Show in header.
Typical fields:
Name: the visible label, such as Rental Unit or Medical Device
Slug: the internal identifier used for this type
Icon: a visual marker that helps users recognize the type faster
Choose a type structure that your team will immediately understand. In most cases, it is better to model a few clear types than too many very narrow ones.
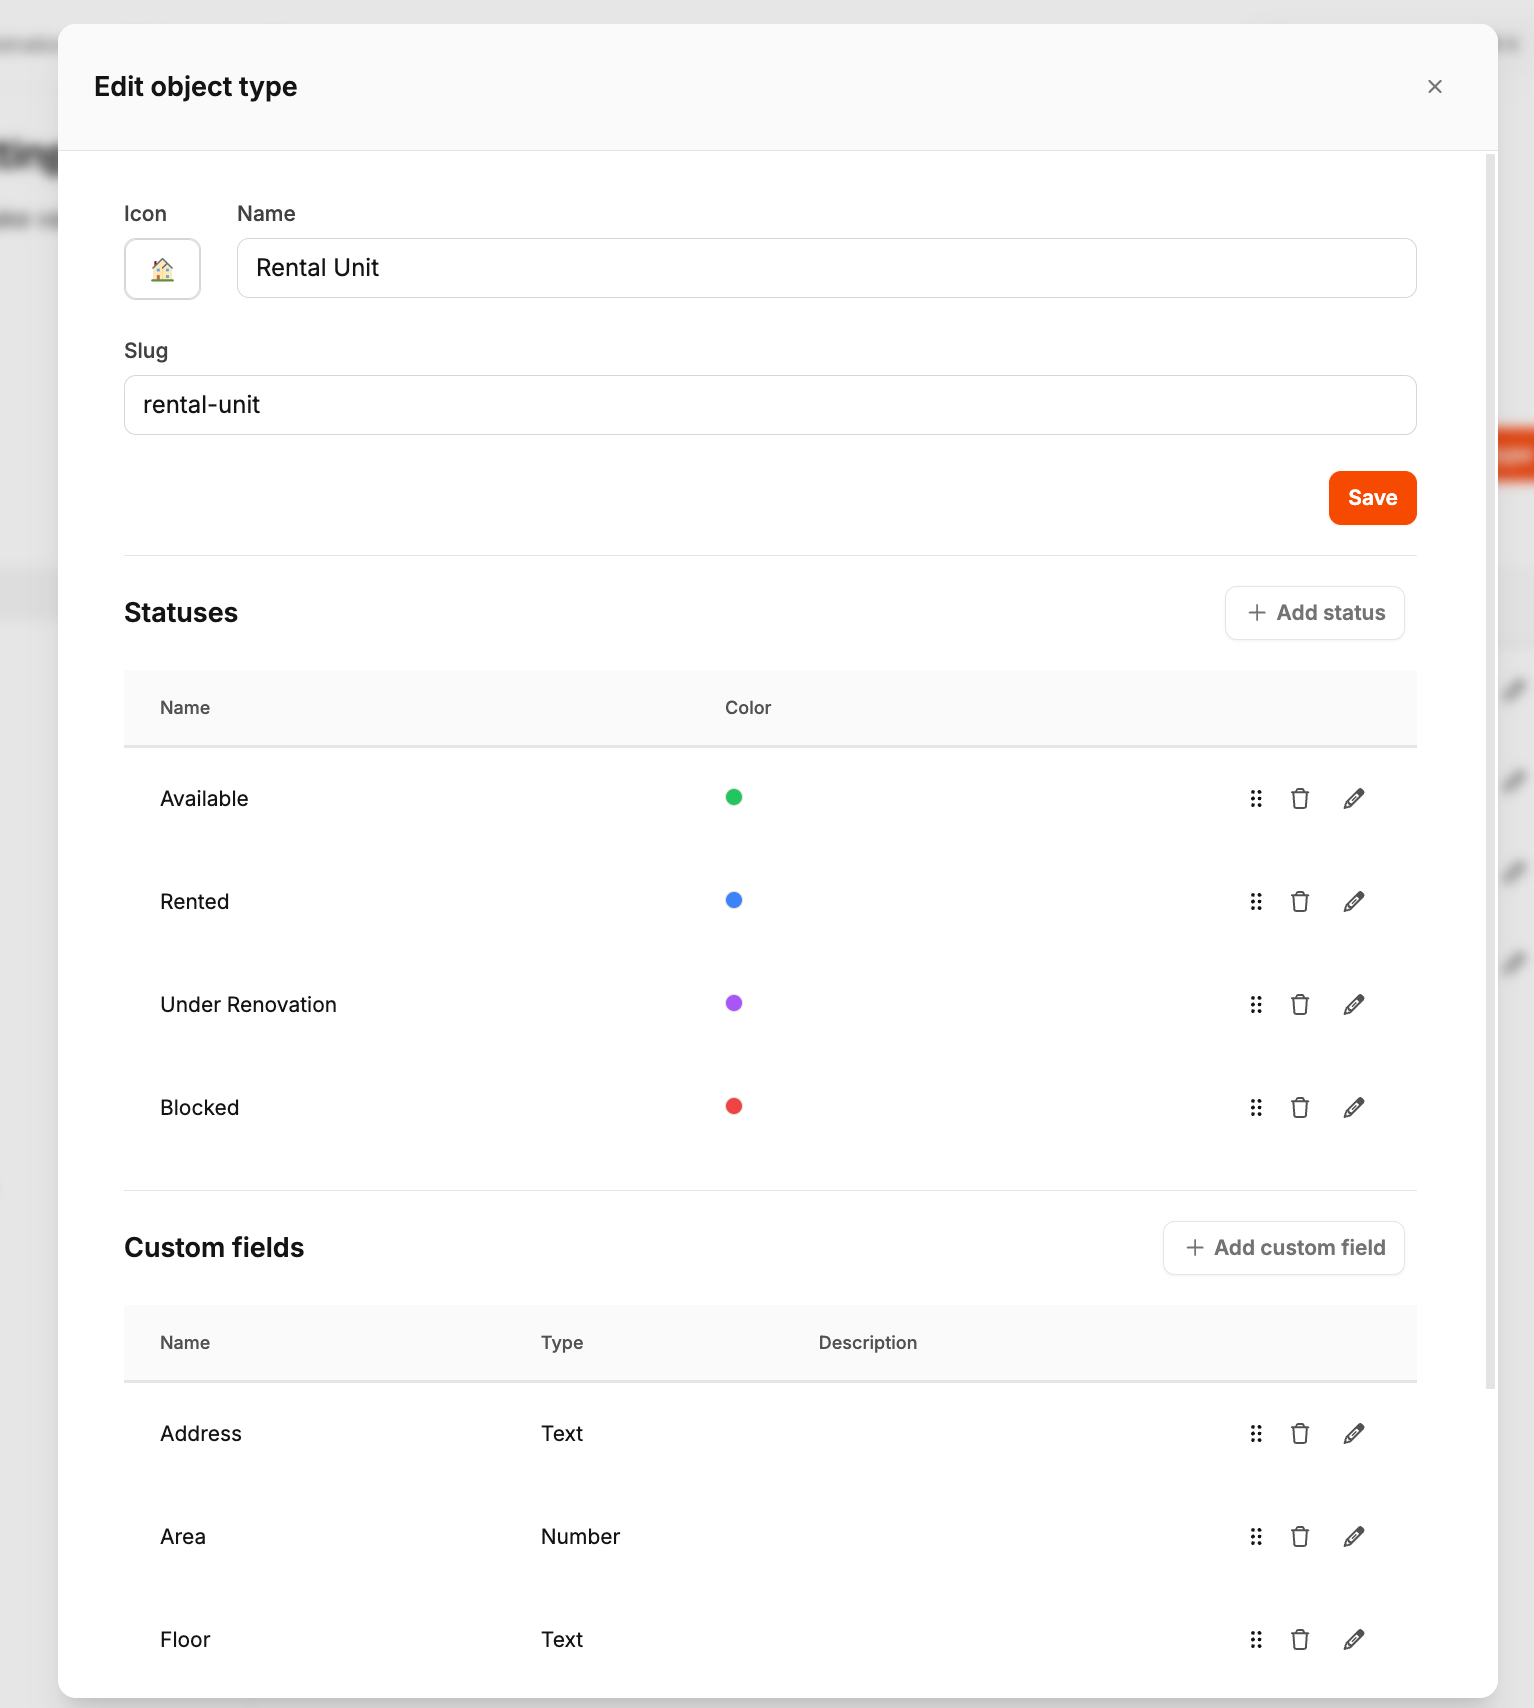
Each object type can have its own lifecycle statuses.
Examples:
Rental Unit: Available, Rented, In Termination, Under Renovation
Medical Device: OK, Due Soon, Overdue, Blocked
Vehicle: Active, In Service, Retired
This is important because different object categories usually move through different operational states.
Custom fields let you store exactly the details a type needs.
Examples:
Rental Unit: floor, area, base rent
Medical Device: serial number, manufacturer, inspection cycle
Server: hostname, rack, warranty end
This makes object types flexible enough for different industries without turning every object into a generic form with too many irrelevant inputs.
When configuring custom fields, you can also decide how prominently they should appear.
Two settings are especially important:
Show in list: displays the field in the main objects grid
Show in header: highlights the field in the object detail header
Use these options carefully. Only the most important information should appear in prominent places. That way, the workspace stays easy to scan.
Before you create many object types, ask yourself:
Which categories do we really manage long-term?
Which statuses do users need in daily work?
Which fields are essential, and which are only optional?
A smaller, well-designed type setup is usually more useful than a very detailed setup no one wants to maintain.
