The area Data imports is located under Administration → Data imports and is used to import data from external sources such as CRM, HR, or ERP systems into Leadtime. Using this function, you can create or update records in large volumes – such as employees, organizations, projects, or tasks.

The purpose of the import function is to quickly and consistently populate existing data assets into Leadtime.
This allows you to take employee lists, customer data, or project details from existing systems without manually creating each entry.
→ Employees of your own company: Employee overview
→ Organizations: Create organizations
→ Employees of organizations: Organizations – Members
→ Projects: Projects
→ Tasks and task updates: Create task
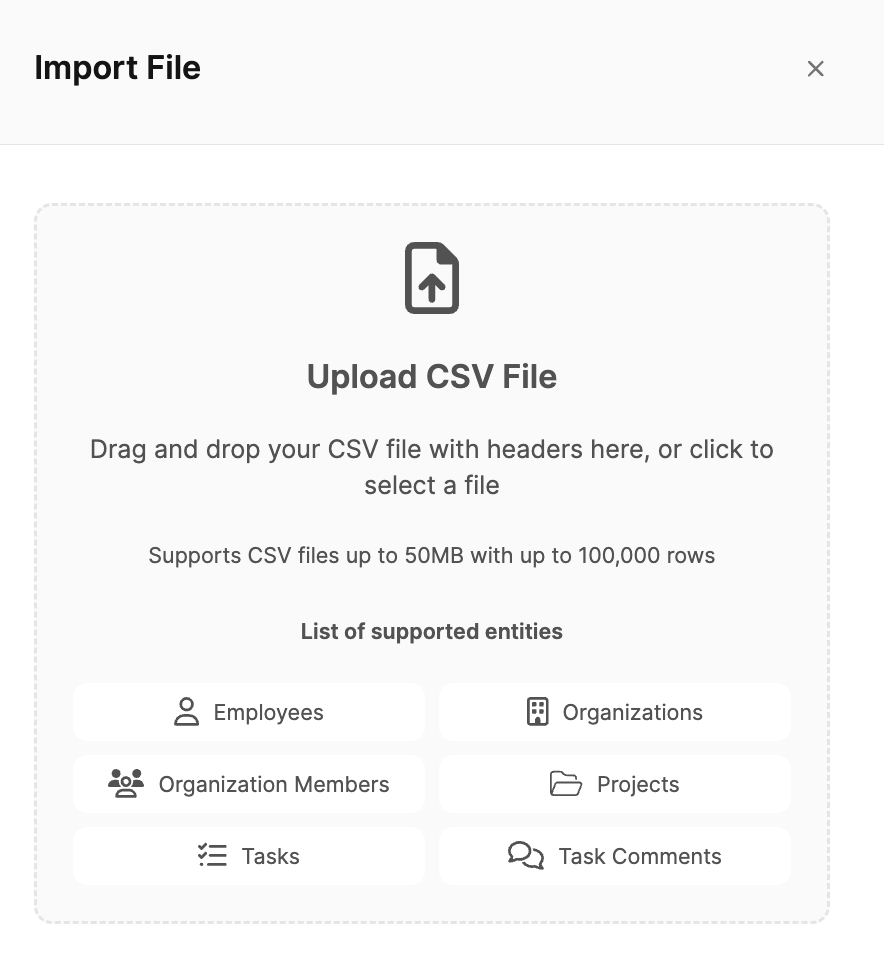
Open Administration → Data imports and click on Import file.
Drag a CSV file into the upload field or select it manually.
Lead time supported:
CSV files up to 50 MB
up to 100,000 rows per file
The following entities can be imported into Leadtime:
Employees – for quick creation of team members including roles, contact details, and positions.
Organizations – for pulling in external company data such as customers, partners, or suppliers.
Organization Members – to link existing organizations with the associated contacts or employees.
Projects – for importing ongoing or completed projects with the most important metadata.
Tasks (Aufgaben) – these are tickets from other systems. During import, a corresponding task is created for each ticket with the original ticket description.
Task Comments (Aufgabenkommentare) – these contain the history and updates from a ticket, e.g., status changes or responses from other users.

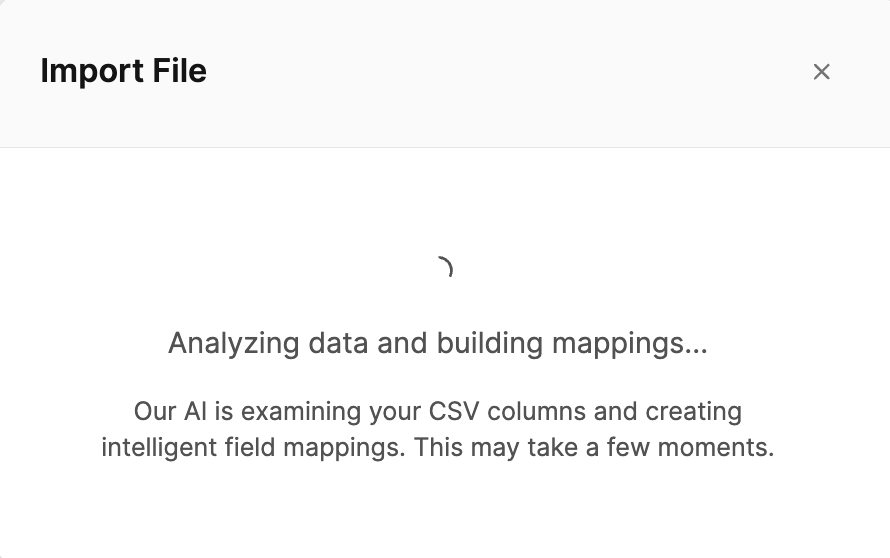
After uploading, the system automatically checks the file and creates with the help of an AI layer afield mapping.
Leadtime recognizes the column headings of your CSV file and assigns them to matching fields in the system (e.g., First name → First name).
Then you will see a message: "File uploaded successfully! AI mappings have been generated automatically – please review them before proceeding."
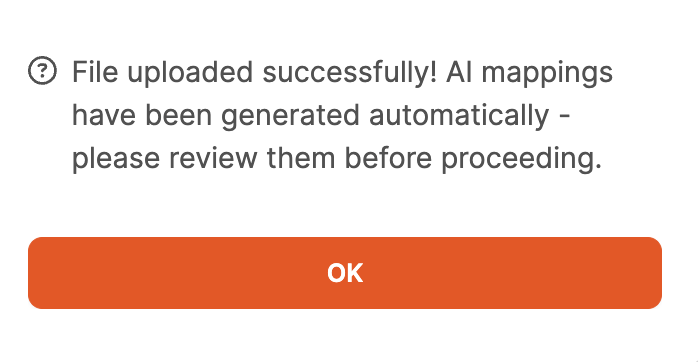
Check the mapping carefully and adjust it if necessary.

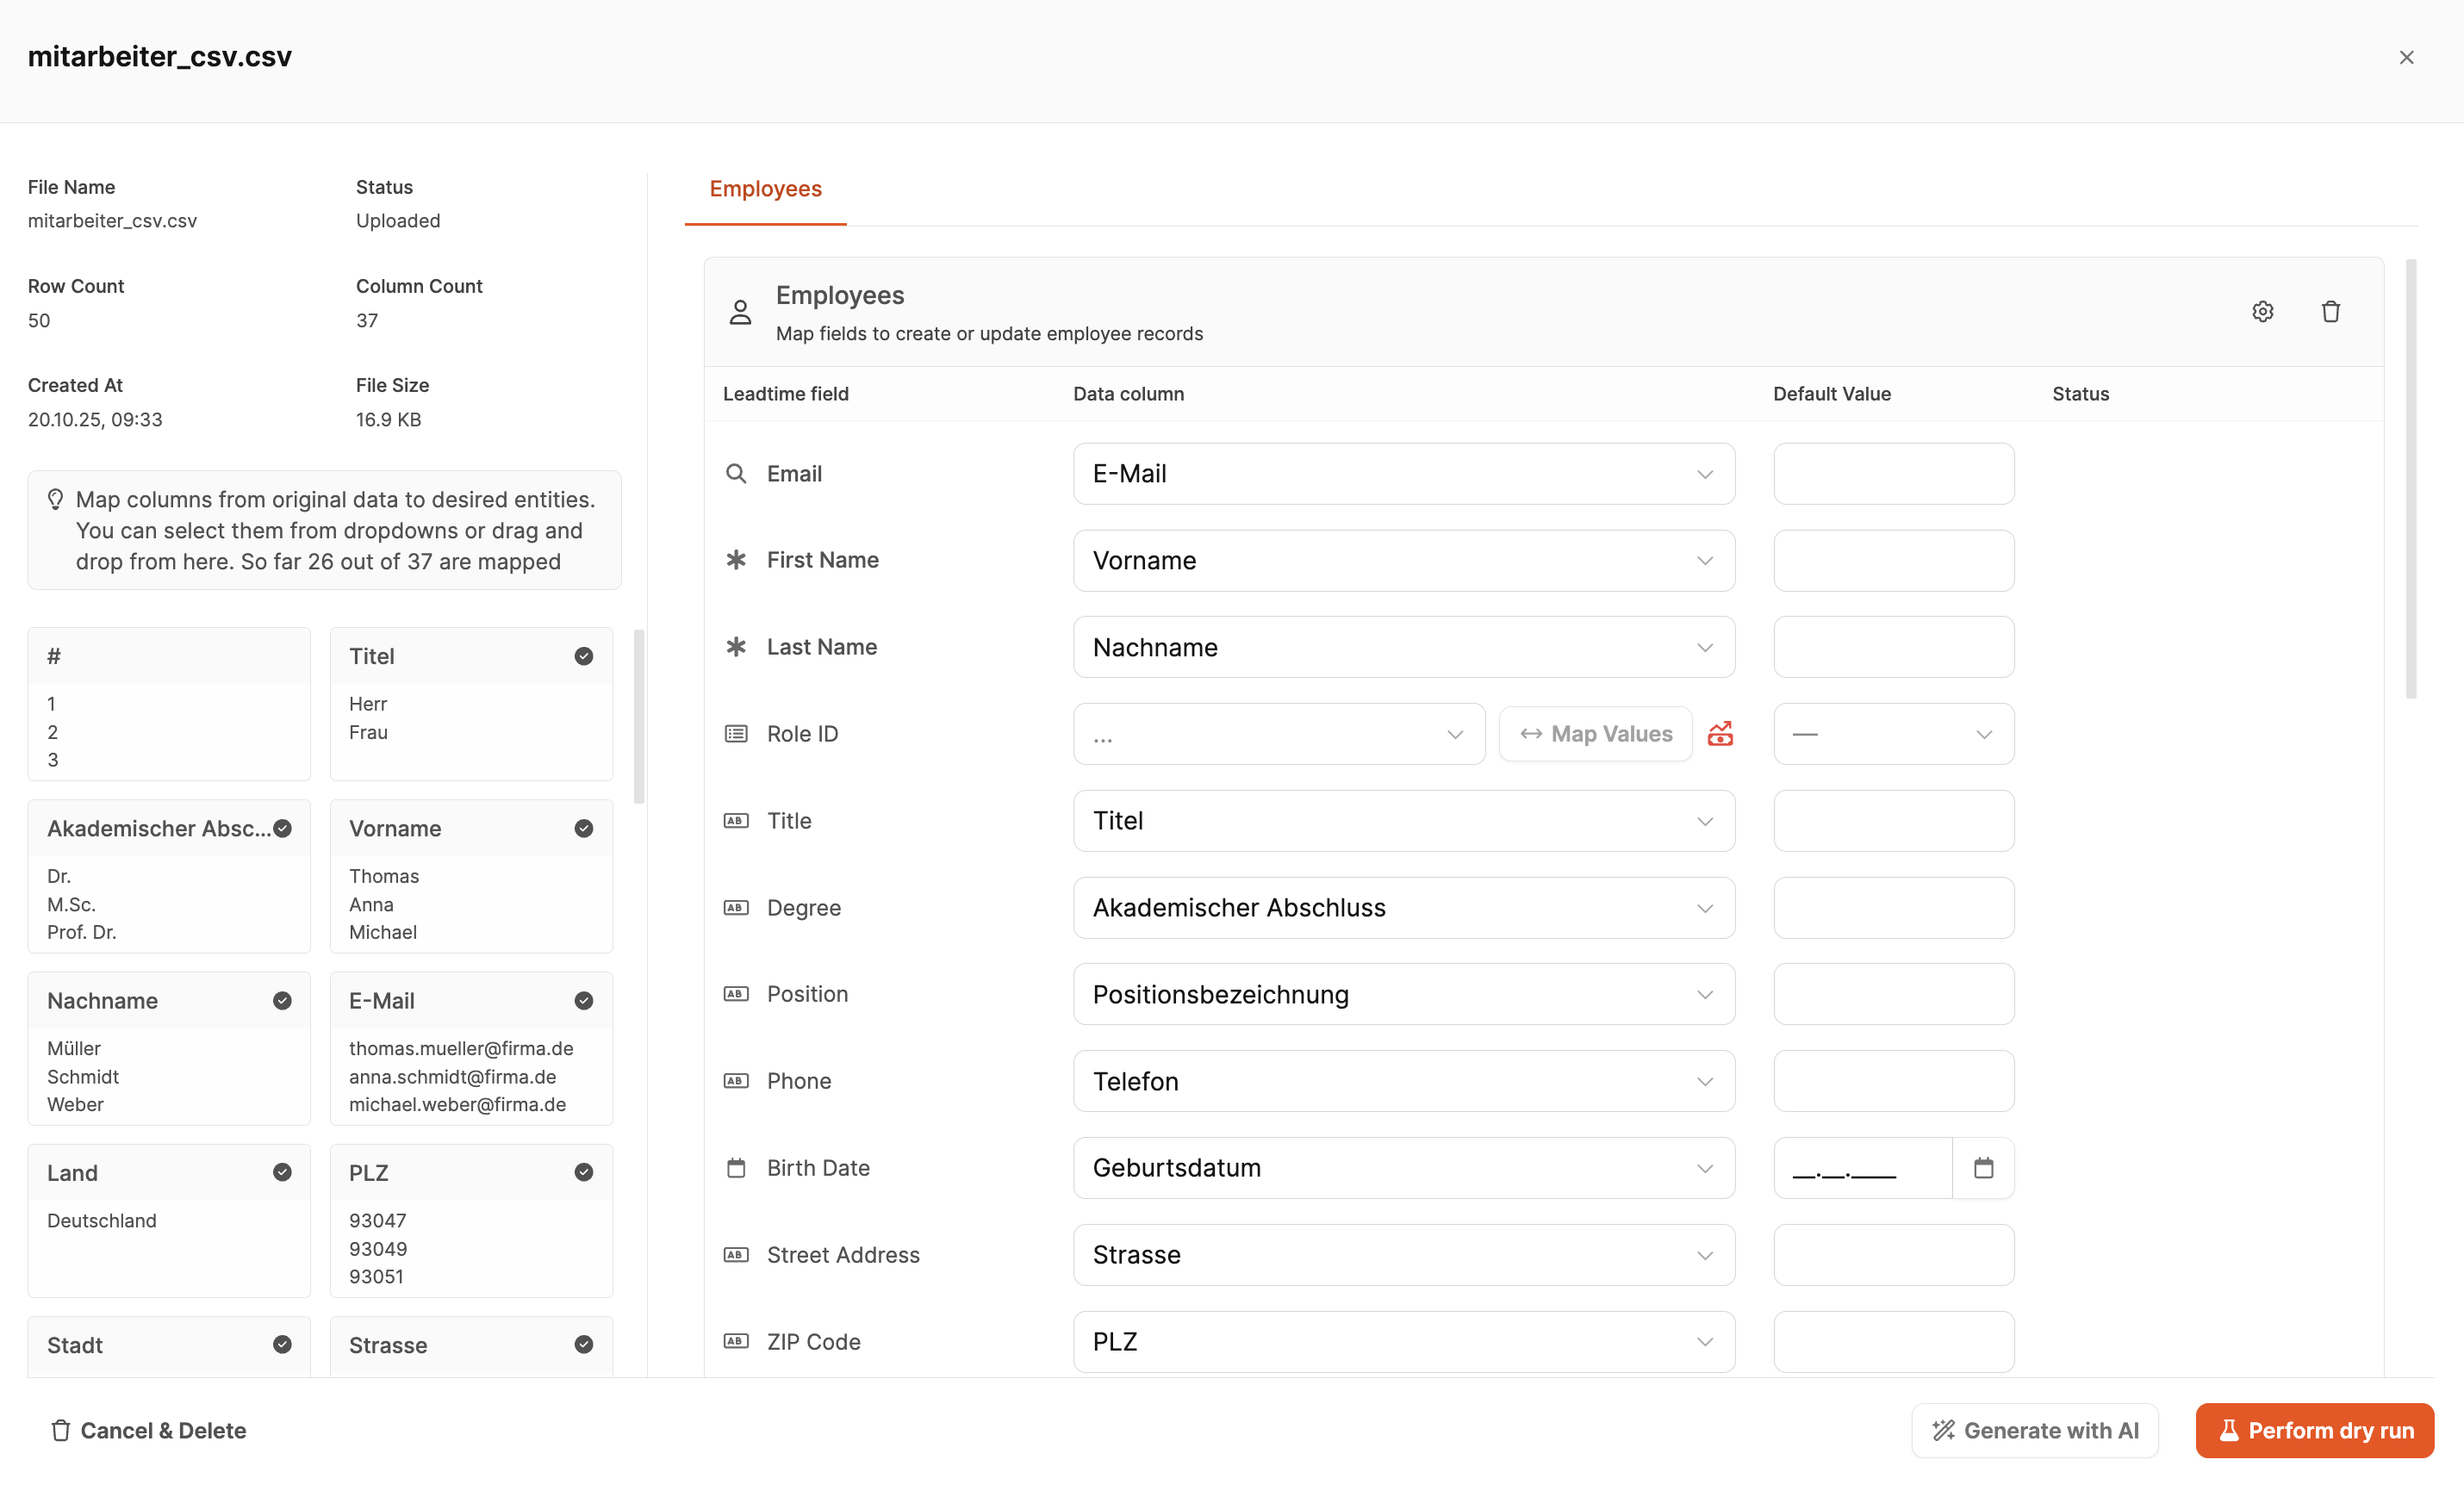
In this view, the field mapping for your import file is carried out. Here you specify which columns from your CSV file are to be assigned to which fields in Leadtime. The page consists of two main areas – the left column with the recognized data from the file and the right column with the Leadtime fields and mappings.
The header area of the view contains file statistics, including:
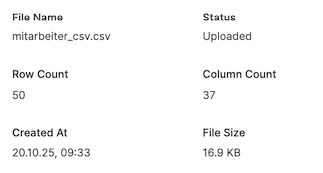
File name
Import status (e.g. “Uploaded”)
Number of rows
Number of columns
Upload timestamp
File size
Below that, all columns that were recognized in the imported CSV file are displayed.
The black checkmark next to a field indicates that the AI mapping function was able to automatically assign the field.
Below each column name you will see some example values from your file to check the correct mapping.
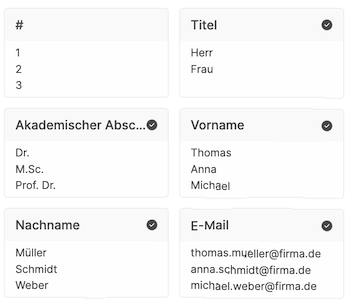
This information helps you assess whether the file is fully and correctly uploaded.

In the right column, the actual assignment takes place. Each row corresponds to a field in the Leadtime database for the selected entity (e.g., employees, organizations, projects).
<english>Leadtime Field</english>
<english>Shows the available fields for the respective entity. For example, if you import employees, you will find fields here such as </english><english>First Name</english>, <english>Email</english>, <english>Position</english>, <english>Role ID</english> <english>etc.</english>
<english>Data Column</english>
<english>Here you can select the columns from your CSV file. The AI assigns them automatically, but you can change them manually at any time.</english>
<english>Use the dropdown menu to select another column.</english>
<english>With </english><english>Map Values</english> <english>you can specifically convert values from the file, for example:</english>
<english>Yes</english> → <english>1</english>
<english>No</english> → <english>0</english>
<english>This is particularly relevant for fields where Leadtime expects numeric or boolean values.</english>
<english>Default Value</english>
<english>Specifies a default value used when the respective field in the CSV file is empty.</english>
<english>Example:</english> <english>If the field "Department" in Leadtime is a required field, but remains partially empty in the file, you can enter a replacement value such as "General" here.</english>
<english>This prevents the import from failing on incomplete rows.</english>
<english>Status</english>
<english>Shows any </english><english>errors or warnings</english> <english>that occur during the import.</english>
<english>If red messages appear here, the import will not be executed for these rows.</english>
<english>In this case, check the assignments or add default values.</english>

Before the actual import starts, you can with Perform dry run perform a simulation.
This way, you can see how many records will be created, updated, or ignored.
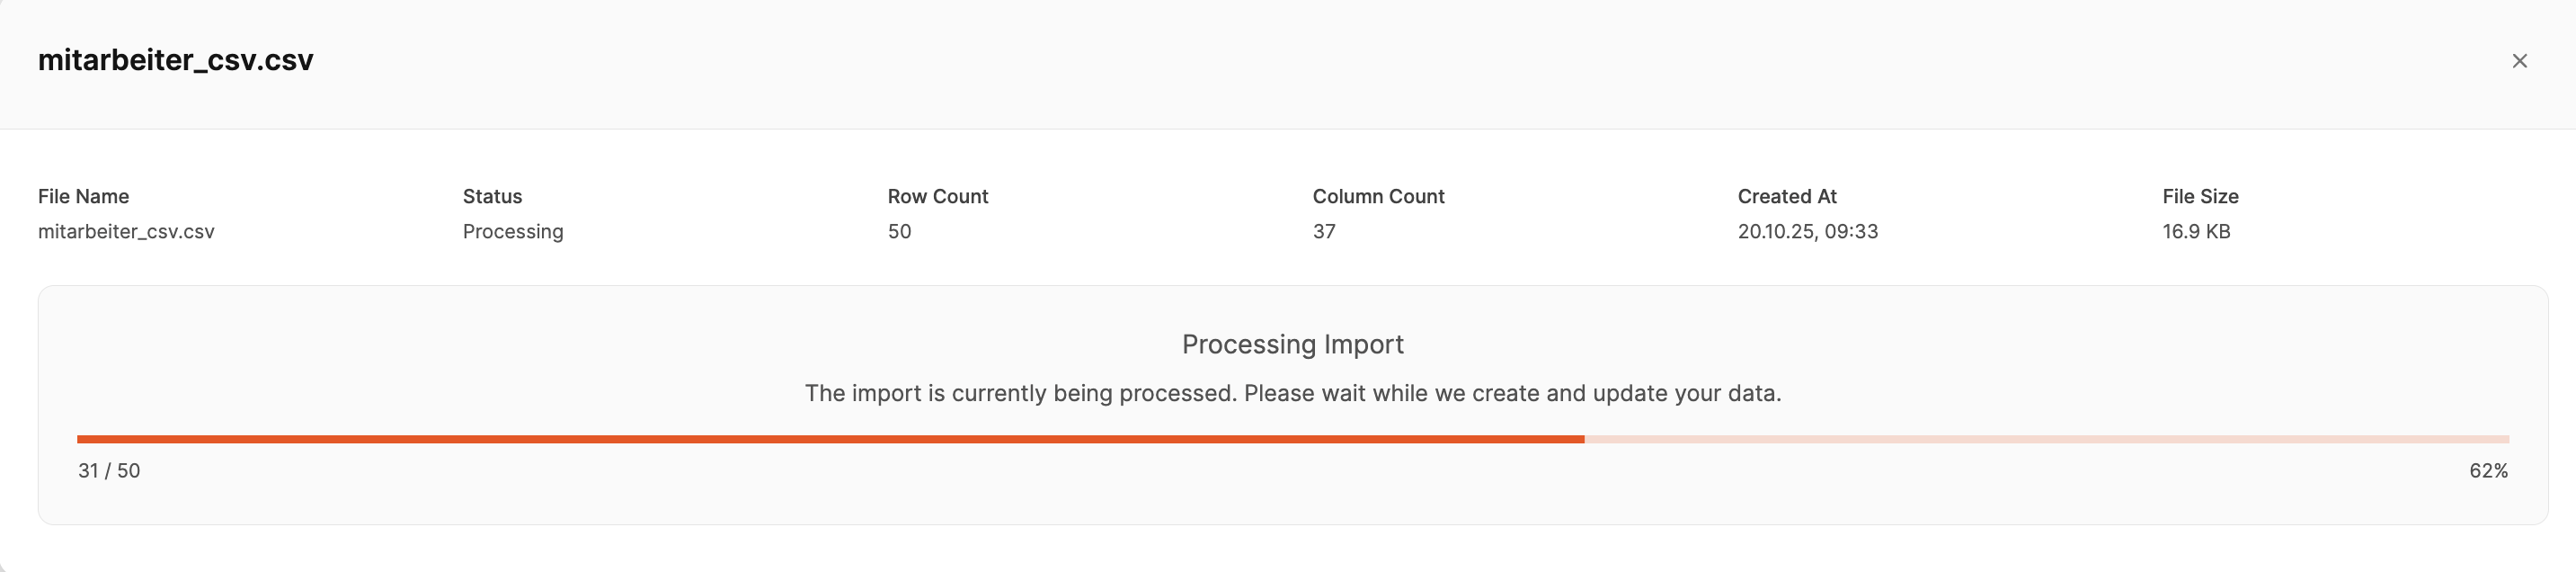
If all mappings are correct, click on Initiate import. During the import, a progress display shows the current status.
After completion, the records will be created or updated in Leadtime.
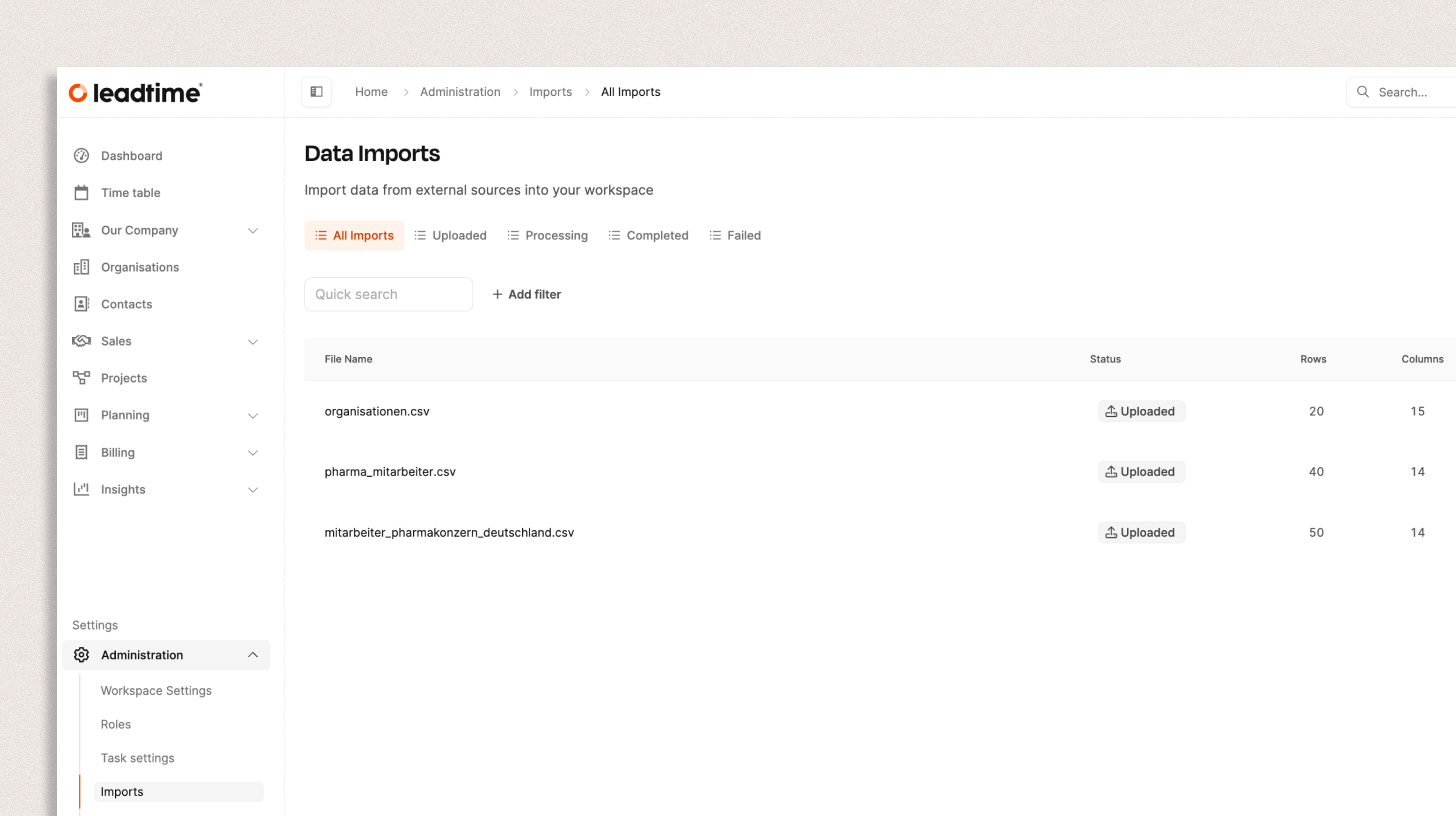
In the area Administration → Imports you can see all previous uploads with status display:
Uploaded – File uploaded but not yet processed
Processing – Import in progress
Completed – Import successfully completed
Failed – Import failed
Each entry also shows:
File name
Number of rows and columns
Creation date
This guide shows how youOrganizations and their Members (Users/Guests) in two steps import and thereby correctly match the data records. The principle applies to further chains (e.g., Organization → Project → Task).
Import organizations
Import organization members and via Matching assign to the correct organization
Provide two CSV files, for example:
companies.csv (organizations)
company_members.csv (employees/organization members)
Define a common Match field (in the example: Organization name).
Tip: If available, a unique ID (e.g., External ID) as a match field is even more robust than the name.
Navigieren Sie zu Administration / Imports und klicken Sie Import file.
Laden Sie companies.csv hoch.
Prüfen Sie das KI-Mapping (Zuordnung der CSV-Spalten zu Leadtime-Feldern).
Typische Felder: Name, Short name, Farbe/Icon, Kontaktangaben.
Option (CRM/Vertrieb):
Feld Auto-Create Deal auf Yes setzen, wenn zu jeder Organisation automatisch ein erstes Projekt angelegt werden soll.
Perform dry run ausführen und prüfen:
Anzahl to create / to update / ignored
ggf. fehlende Pflichtfelder oder fehlerhafte Spalten korrigieren
Initiate import starten.
Check result: In Organizations you now see the newly created companies (possibly including the automatically created initial projects).


Erneut Import file wählen und company_members.csv hochladen.
In der Mapping-Ansicht sehen Sie zwei Blöcke:
Hauptentität (Organization Members): Felder der anzulegenden Mitglieder (z. B. Name, E-Mail, Position, Einfluss-Level).
Organizations (Zuweisungsblock): Hier stellen Sie das Matching zur Organisation her (im Beispiel über Organisationsname).
Prüfen Sie das KI-Mapping und passen Sie es an, falls nötig:
Stimmt das Match-Feld (z. B. Organization name)?
Sind konvertierte Werte korrekt (z. B. Influence level)?
Wichtig: Achten Sie darauf, keine organisationsweiten Default-Werte zu setzen, die beim Mitgliederimport fälschlich bestehende Organisationsfelder überschreiben könnten (z. B. Organization type).
Perform dry run ausführen:
Sie sehen, wie viele Mitglieder angelegt werden,
wie viele Organisationen aktualisiert werden (nur wenn wirklich nötig),
und ob ggf. neue Organisationen entstehen (nur wenn diese im ersten Schritt fehlten).
Initiate import starten.
Check result: Open an organization and check the tab Members – the assigned people should be visible.
Choose Match field carefully: Names can vary (spelling/spaces). Where possible, use a unique ID.
Use defaults sparingly: Default values in the mapping column fill missing CSV values. Do not set defaults that unintentionally overwrite existing organization data.
Check AI mapping: The AI does the work for you, but does not replace the review. Adjust mappings as needed.
Use dry run: The dry run shows in advance what exactly is created/updated/ignored.
The same principle applies to multi-stage imports:
Organization → Projects: Projects are assigned by matching the Organization.
Project → Tasks (Tickets): Tasks are related to a project and often also to a Creator/Assignee (Member).
Tasks → Comments: Comments are imported with the tasks and assigned to the correct tickets.
The order is always from the parent object downward:
Organizations → 2. Projects → 3. Tasks → 4. Comments
