The Members section in Leadtime is for recording and managing an organization's contacts. Here you can document names, roles, contact info, and personal traits. You can also control who gets access to Leadtime – for example, as external guest users.
On the left sidebar, open the Organizations section.
Select the organization you want from the list.
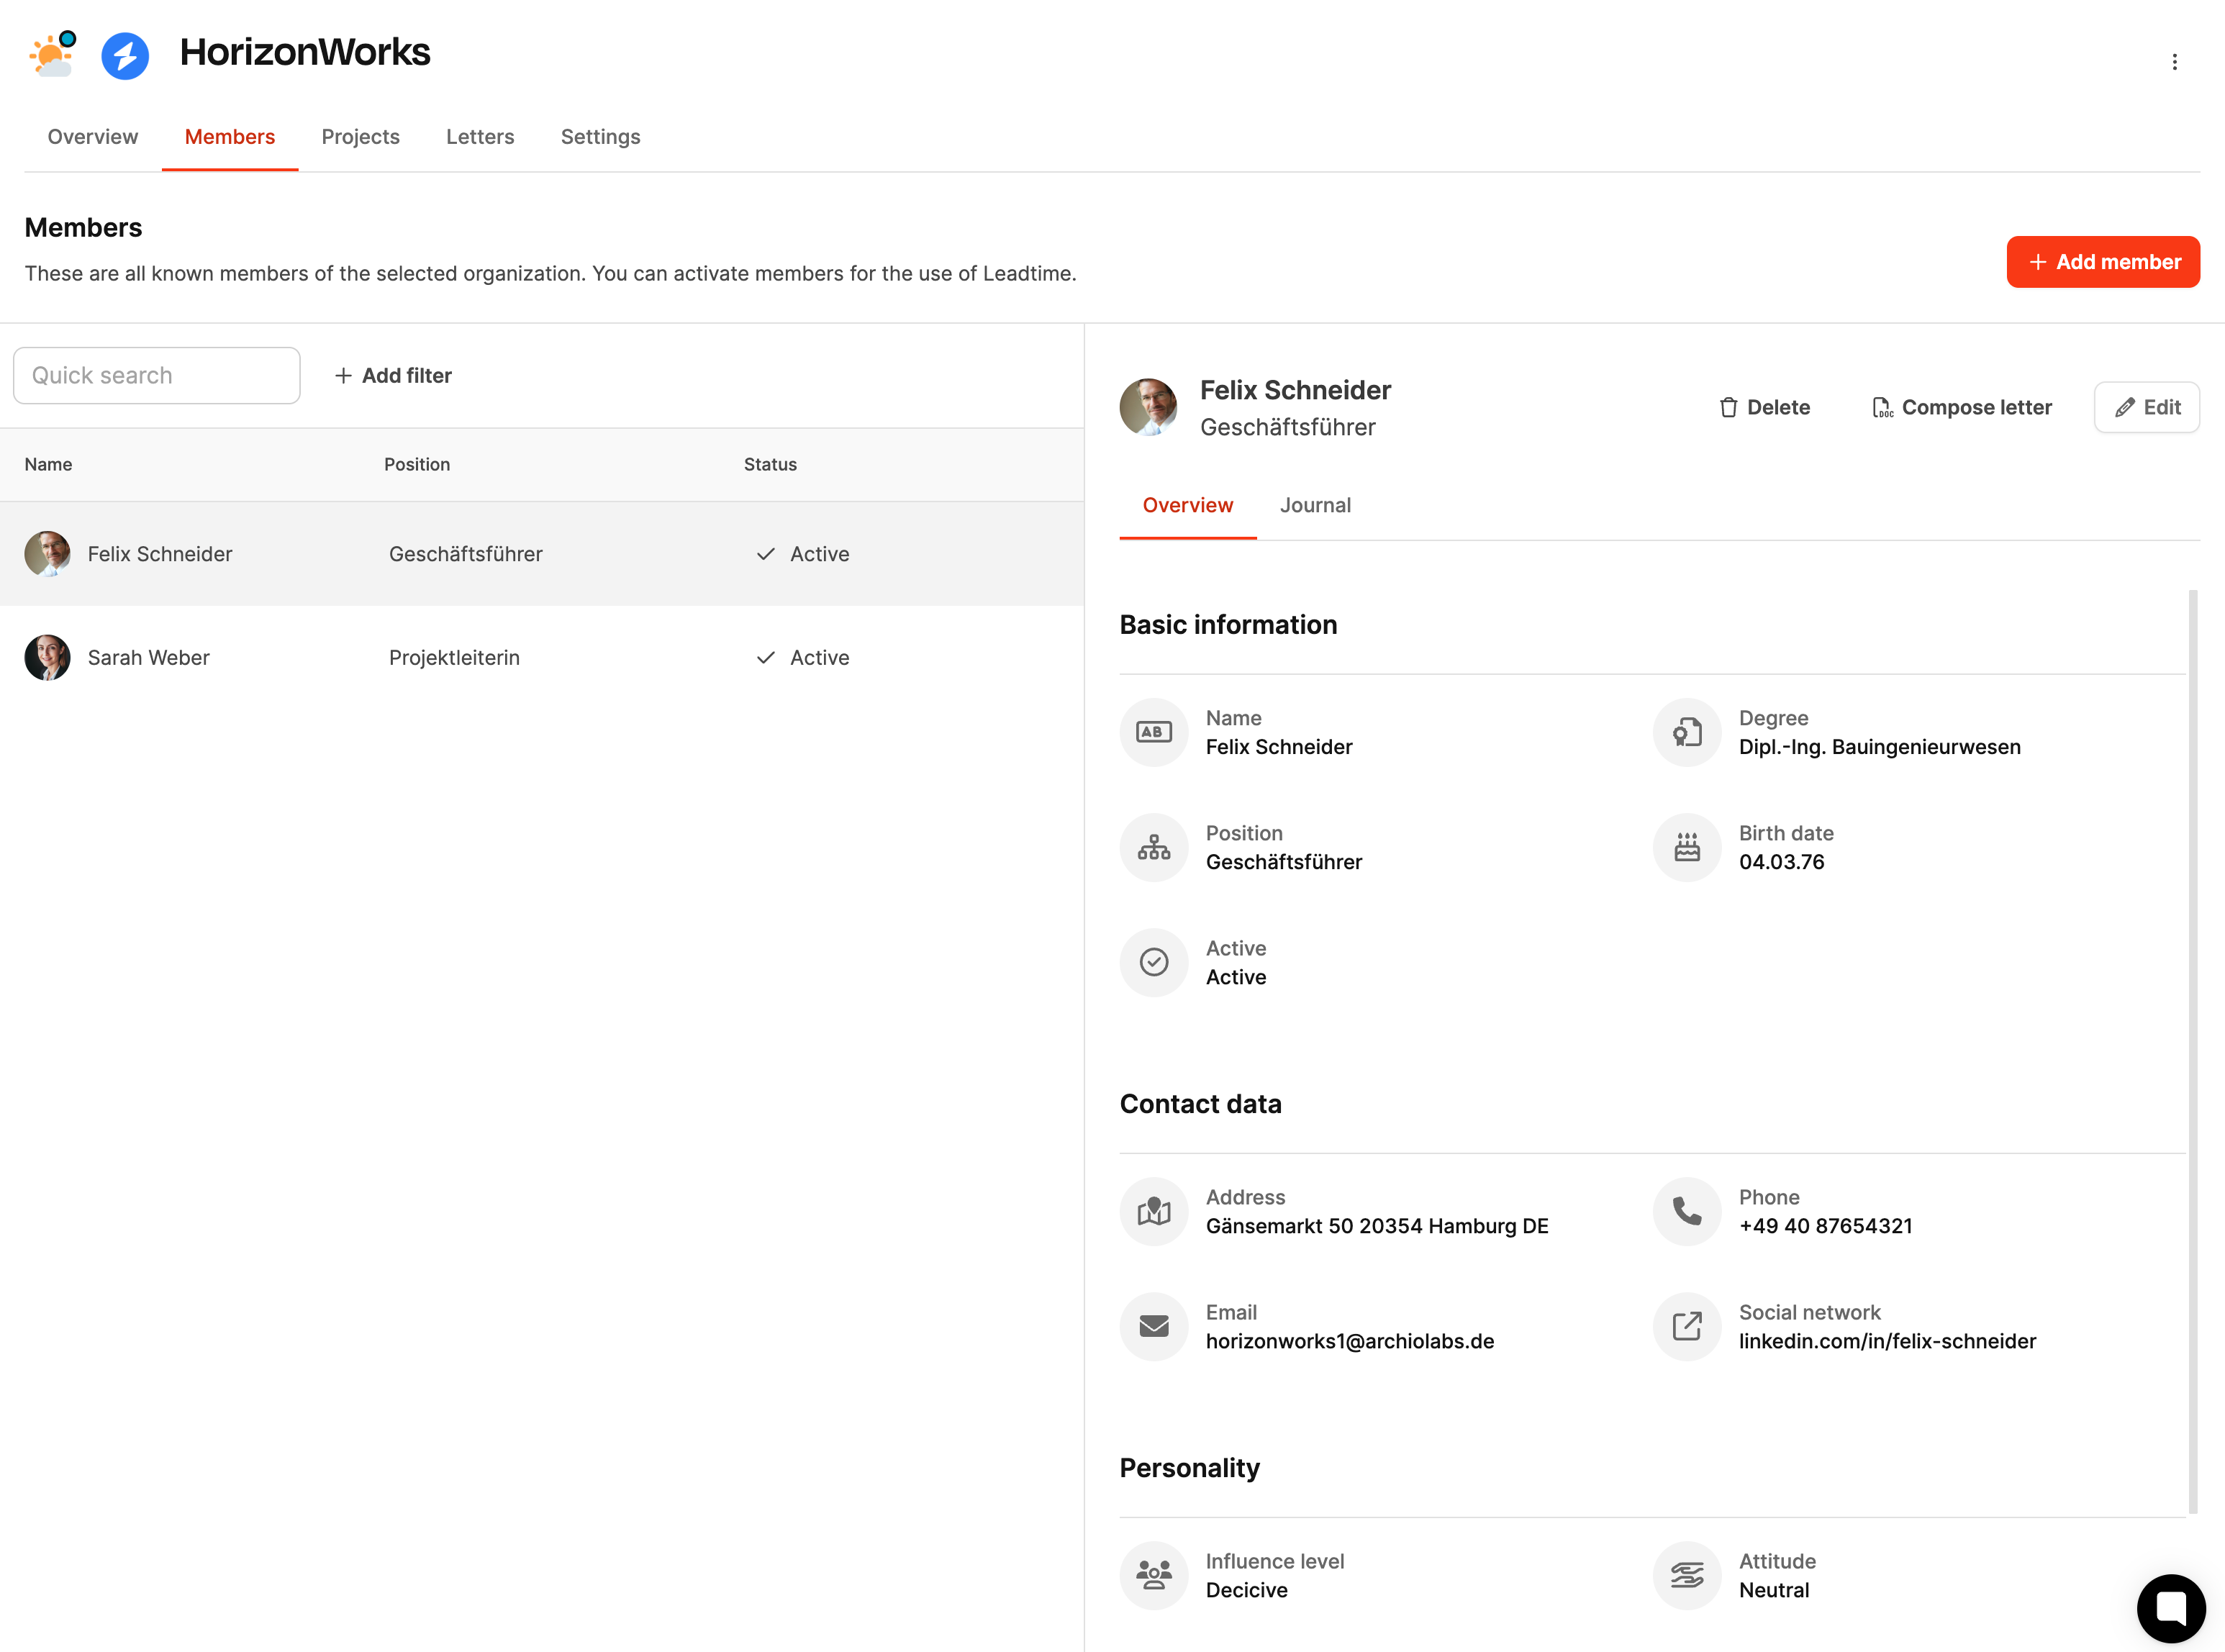
Switch to the Members tab in the top menu of the detail view.
Here you’ll see a list of everyone assigned to the organization.

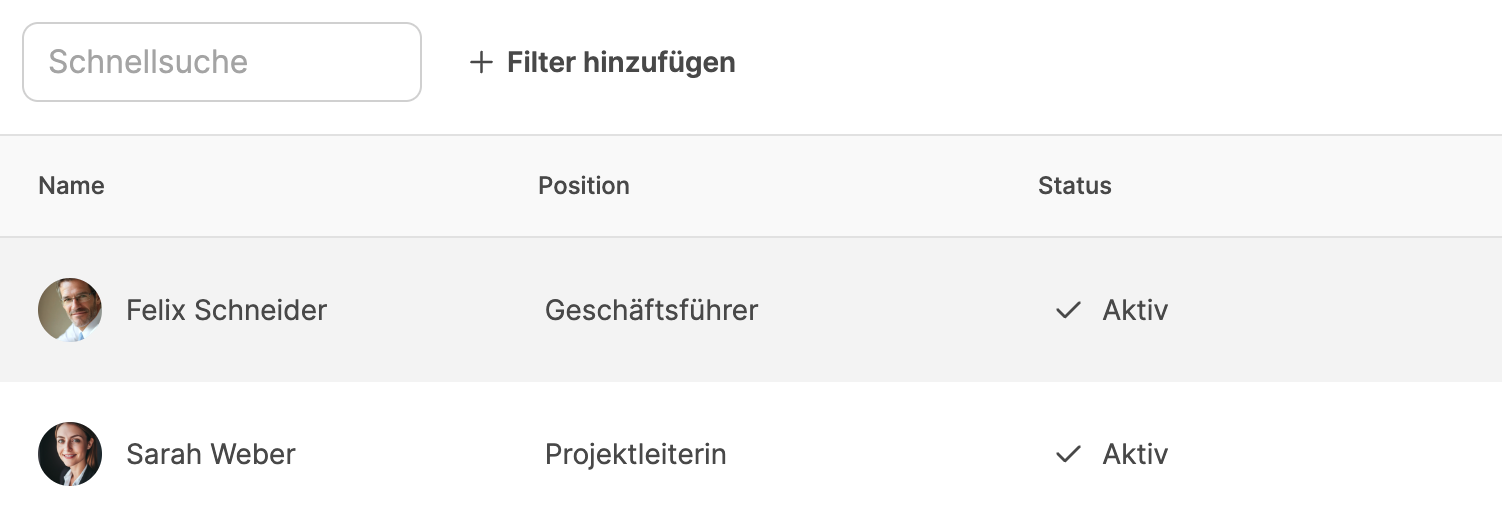
In the overview, you'll see all current members with the most important details:
Name – full first and last name, possibly with a profile picture
Position – function or role within the organization (e.g. managing director, project manager)
Status – shows whether the member is active and allowed to log in to Leadtime
With the Quick search you can search for people directly. With Add filter you can narrow down results by status, position, or user role.
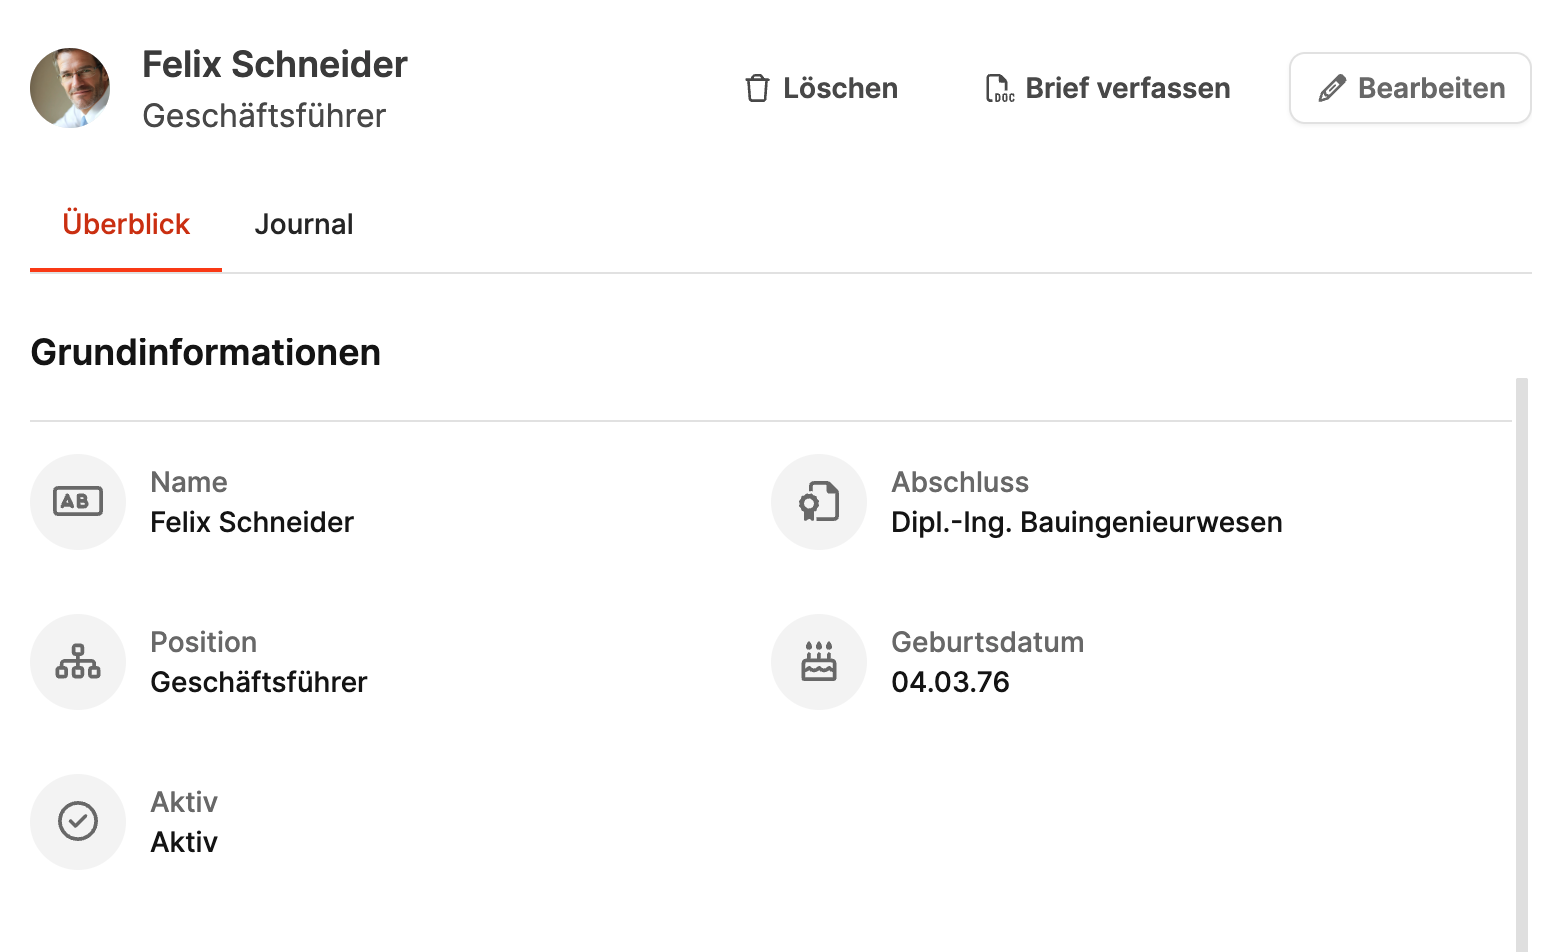
Clicking a member opens the details view. It's split into two tabs: Overview and Journal.
This tab shows all relevant data about the member:
Basic info: Name, position, academic degree, date of birth, active status
Access to Leadtime: Whether the member is allowed to log in and what role they have (for example, Guest or External)
Contact details: Address, email, phone number, and optional social media links
Personality: Level of influence, attitude towards your company and personality profile (for example, initiative, steady, dominant)
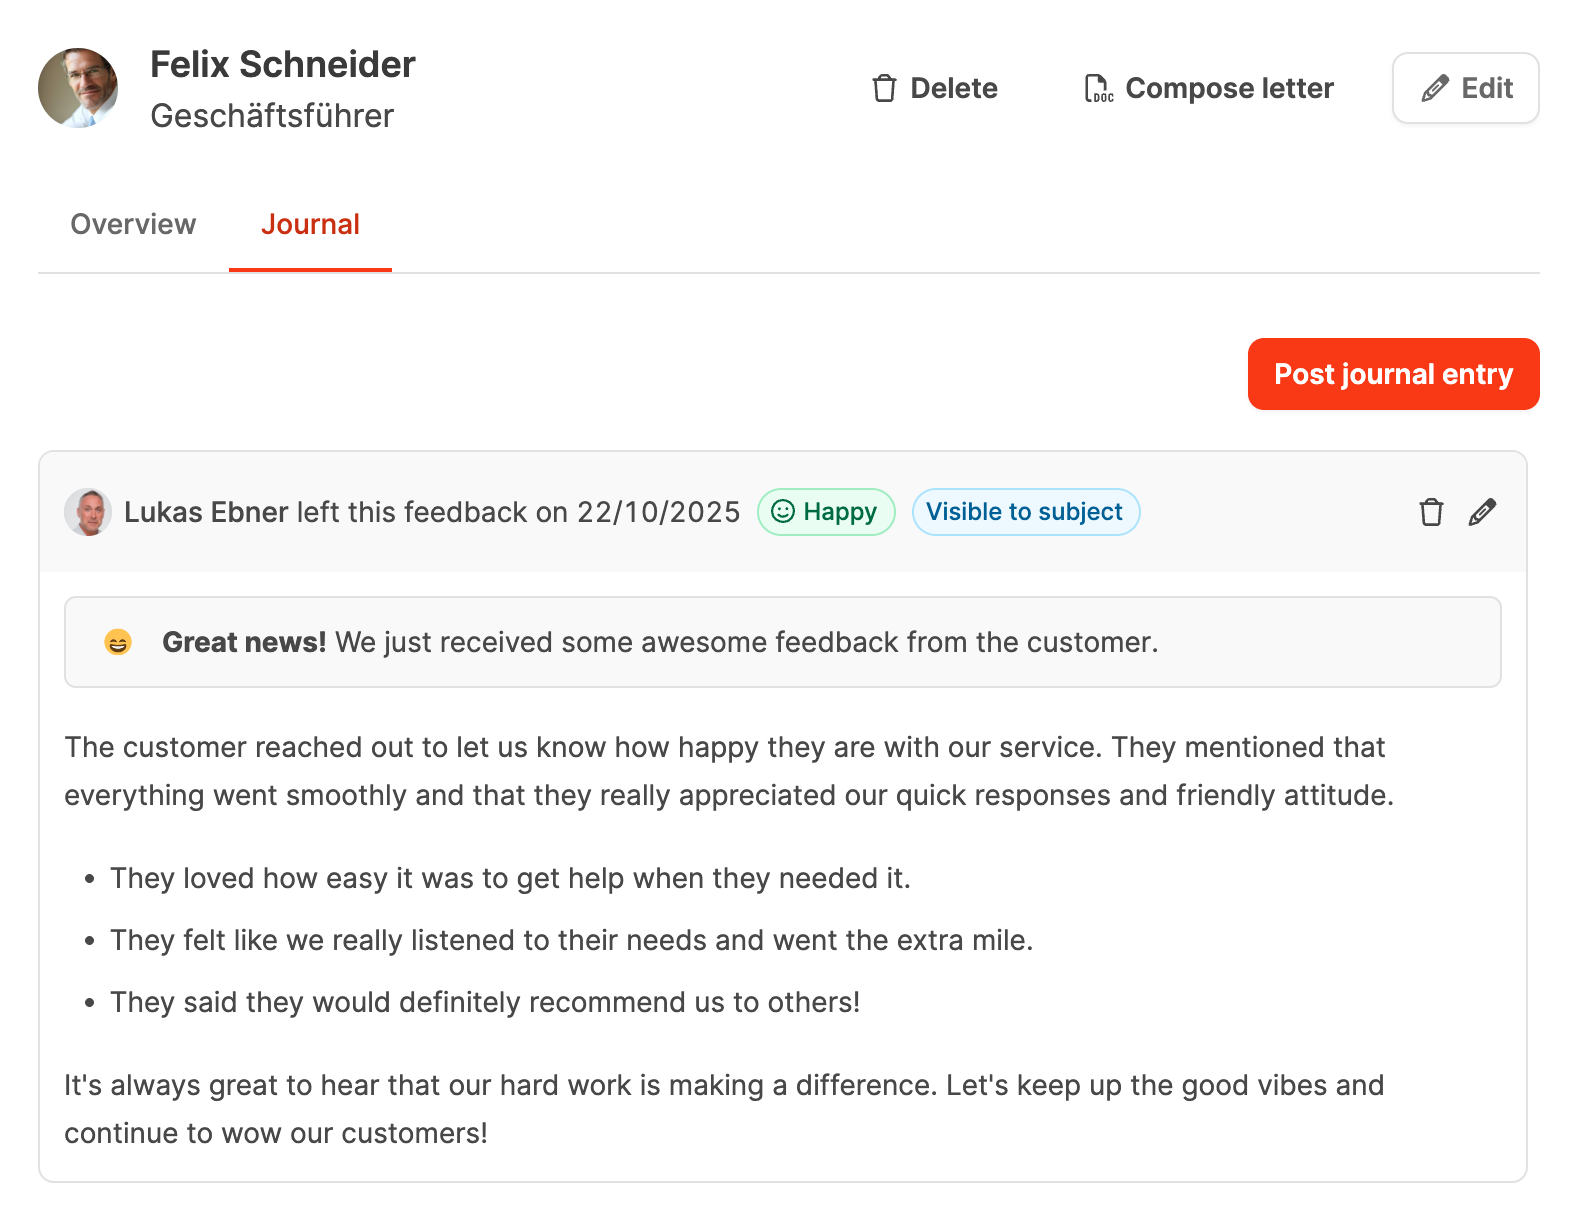
The journal is for documenting notes and observations about individual people.
You can do the following there:
Add entries and reminders
Record a member’s mood
Save internal notes for future chats or follow-ups
With the Compose Letter button, you can create formal letters for the selected contact right from the member area.
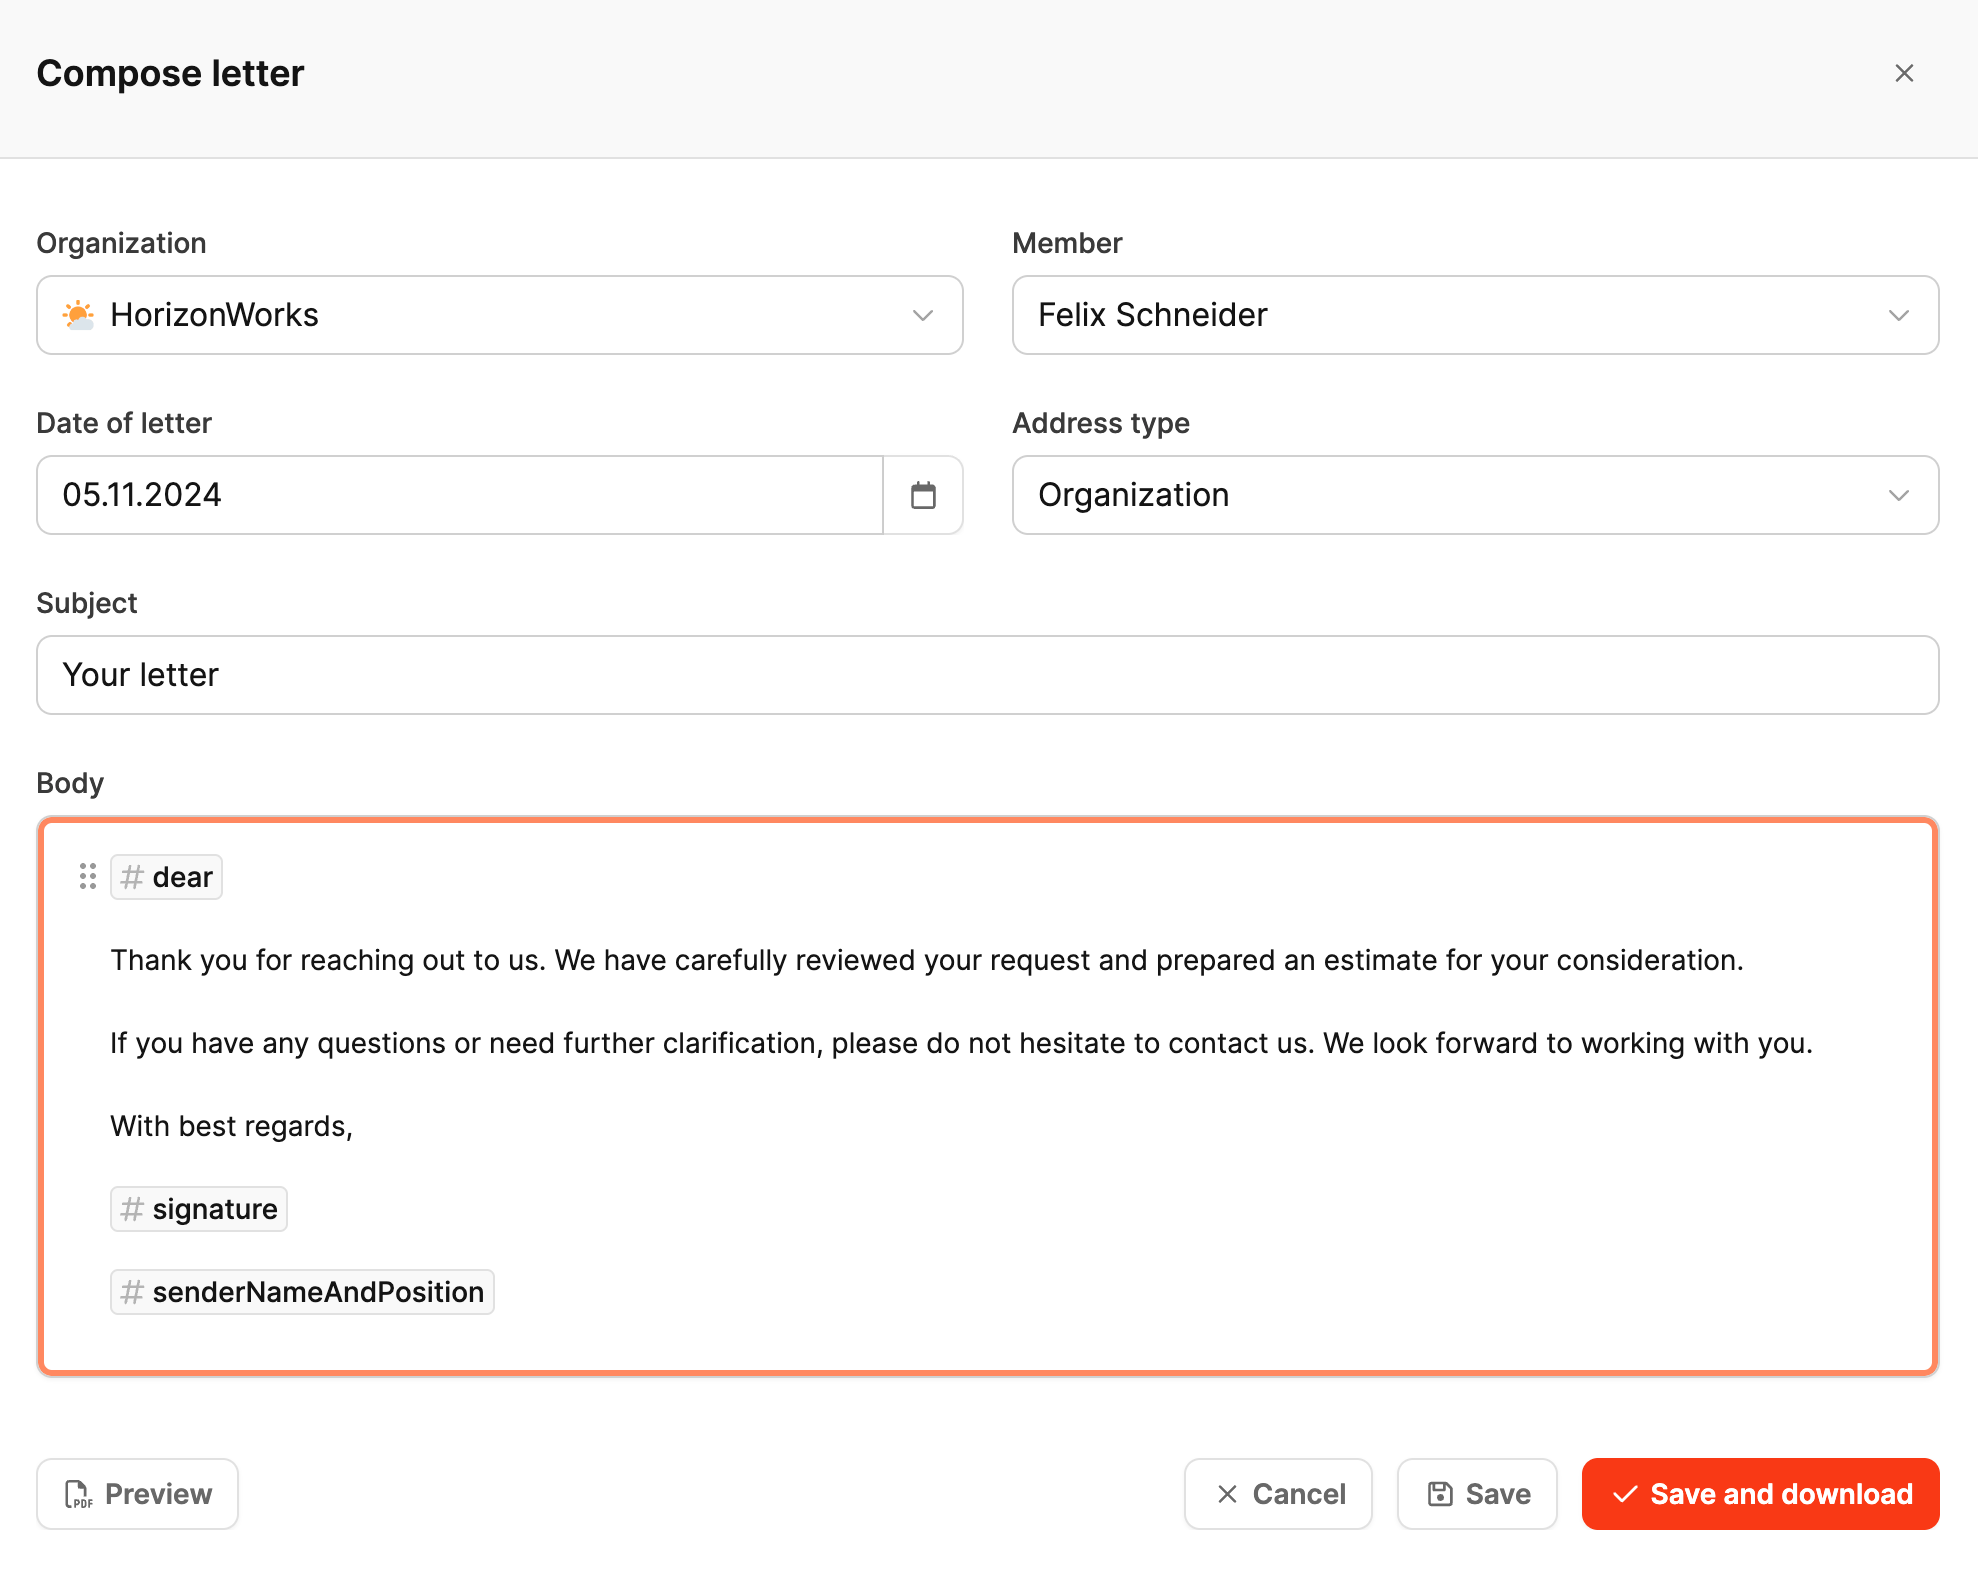
After clicking, a dialog with these fields will pop up:
Organisation – automatically pre-selected
Member – recipient of the letter
Date – preset to the current date, can be changed
Address type – organisation or personal address
Subject – title of the letter
Content – freely editable text area with macros
More about letters here: Organisations – Letters
Macros can be used to personalize letters and automatically fill in the relevant data. Here’s the full overview of all available macros in German and English version:
German macro name | English macro name | Description |
#KundenUnternehmensName | #clientCompanyName | Inserts the name of the client's organization. |
#Ansprechpartner | #contactPerson | Inserts the primary contact person of the organization the letter is addressed to. |
#NameUndPositionDesAbsenders | #senderNameAndPosition | Inserts the sender's name and position (for example, “Thomas Tester, Managing Director”). |
#NameDesAbsenders | #senderName | Inserts only the sender's name. |
#PositionDesAbsenders | #senderPosition | Inserts only the sender's position. |
#HeutigesDatum | #todayDate | Inserts the current date. |
#SehrGeehrterKunde | #dear | Inserts a personalized greeting, automatically using “Dear Sir/Madam” depending on the recipient's gender. |
#Signature | #signature | Inserts the current user's digital signature (saved in the profile settings). |
Below you'll find action buttons:
Preview: PDF preview without saving
Save: files the letter in the organization
Save and Download: saves and instantly downloads the PDF
Cancel: closes the dialog
Letters get saved automatically in the Letters tab of the organization and stay linked to each member.
With Add Member you create new contacts inside an organization.
The following info is collected in the dialog that pops up:

First name, Last name
Gender (optional)
Title and academic degree (optional)
Date of birth
Avatar (profile picture)
Active: defines if the member is listed in the system
Allow login: gives the member access to Leadtime (e.g. as guest user)
Country, postal code, city, street, house number
Phone number, email
Link to social media profiles (optional)
Level of influence (high, medium, low)
Attitude (enthusiastic, neutral, rejecting)
Personality (dominant, steady, initiating, conscientious)
After saving, the member shows up in the overview and can be edited or deactivated if needed.
Members can be unlocked as guest users to get access to ongoing projects in their organization.
How it works:
Add or edit member
Allow login - turn on
Choose role guest or a custom role based on it
The invited user will automatically get an email with an invitation link and can then set a password. Guest users can only access projects they’re assigned to.
This feature enables transparent collaboration with customers and partners, without
