In the left navigation, open the “Organizations” area → pick an organization → in the top menu, click the “Settings” tab → go to “Basic settings”.
In the organization settings, you can manage all the key details for an organization – from basic info and contact details all the way to legal info. This is where you set organization-specific settings that only apply to this organization and might be different from the general workspace settings.
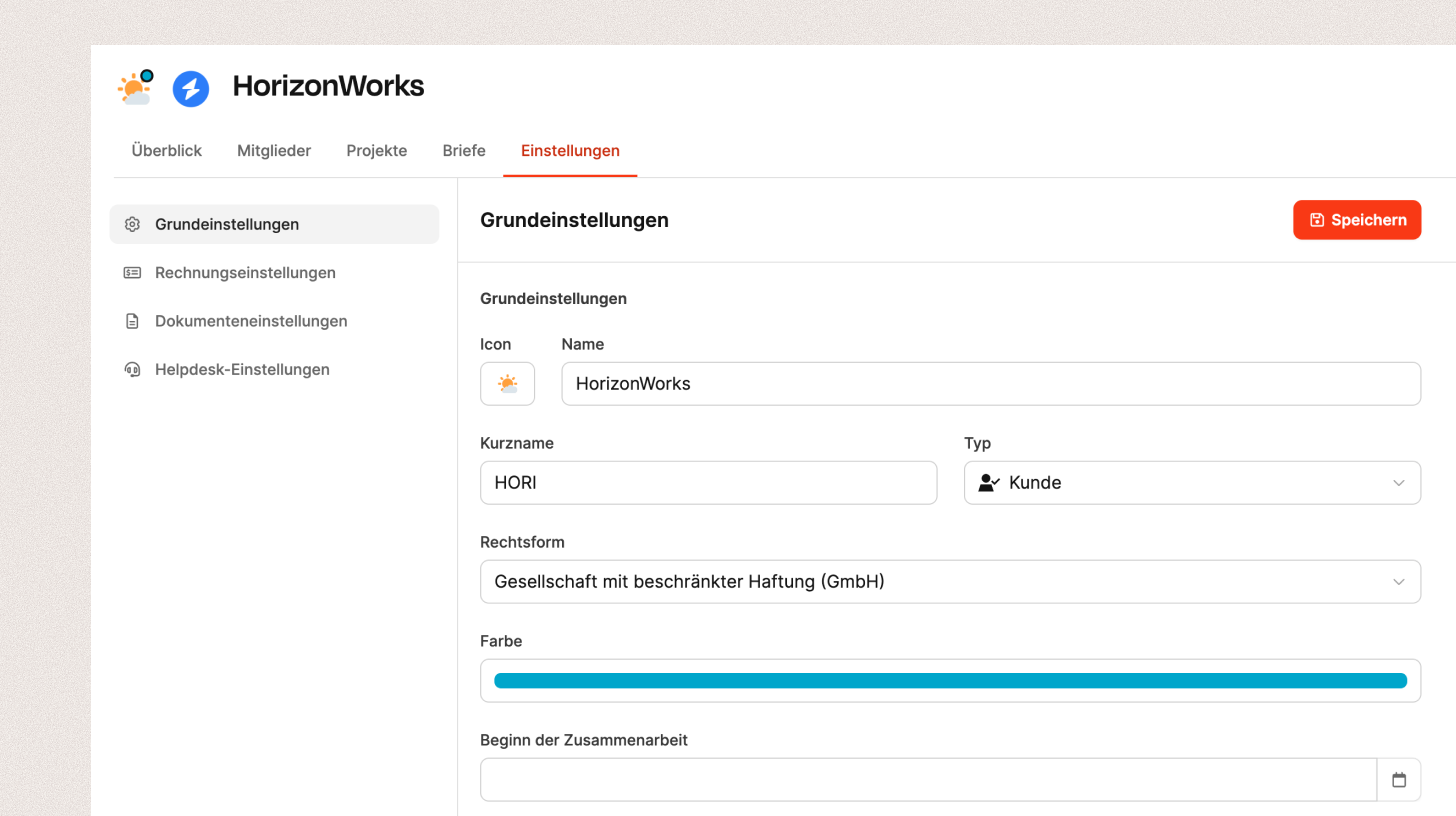
In the Basic info section, you set up the core master data for the organization:

Icon: Choose an icon that visually represents the organization.
Name: Enter the organization’s full name.
Short name: Use a 3–5 letter abbreviation that shows up in projects and lists.
Type: Set the organization type (e.g. customer, supplier, partner).
Legal form: Choose the organization's legal structure (e.g. GmbH, AG).
Color: You can give each organization its own color to make it stand out visually.
Start of cooperation: Capture the kickoff date of the business relationship.
Logo: Upload a company logo to show in overviews and projects.
Description: Give a short description or company intro (e.g. industry, specialization, market position).
Enter the organization's complete contact details here:
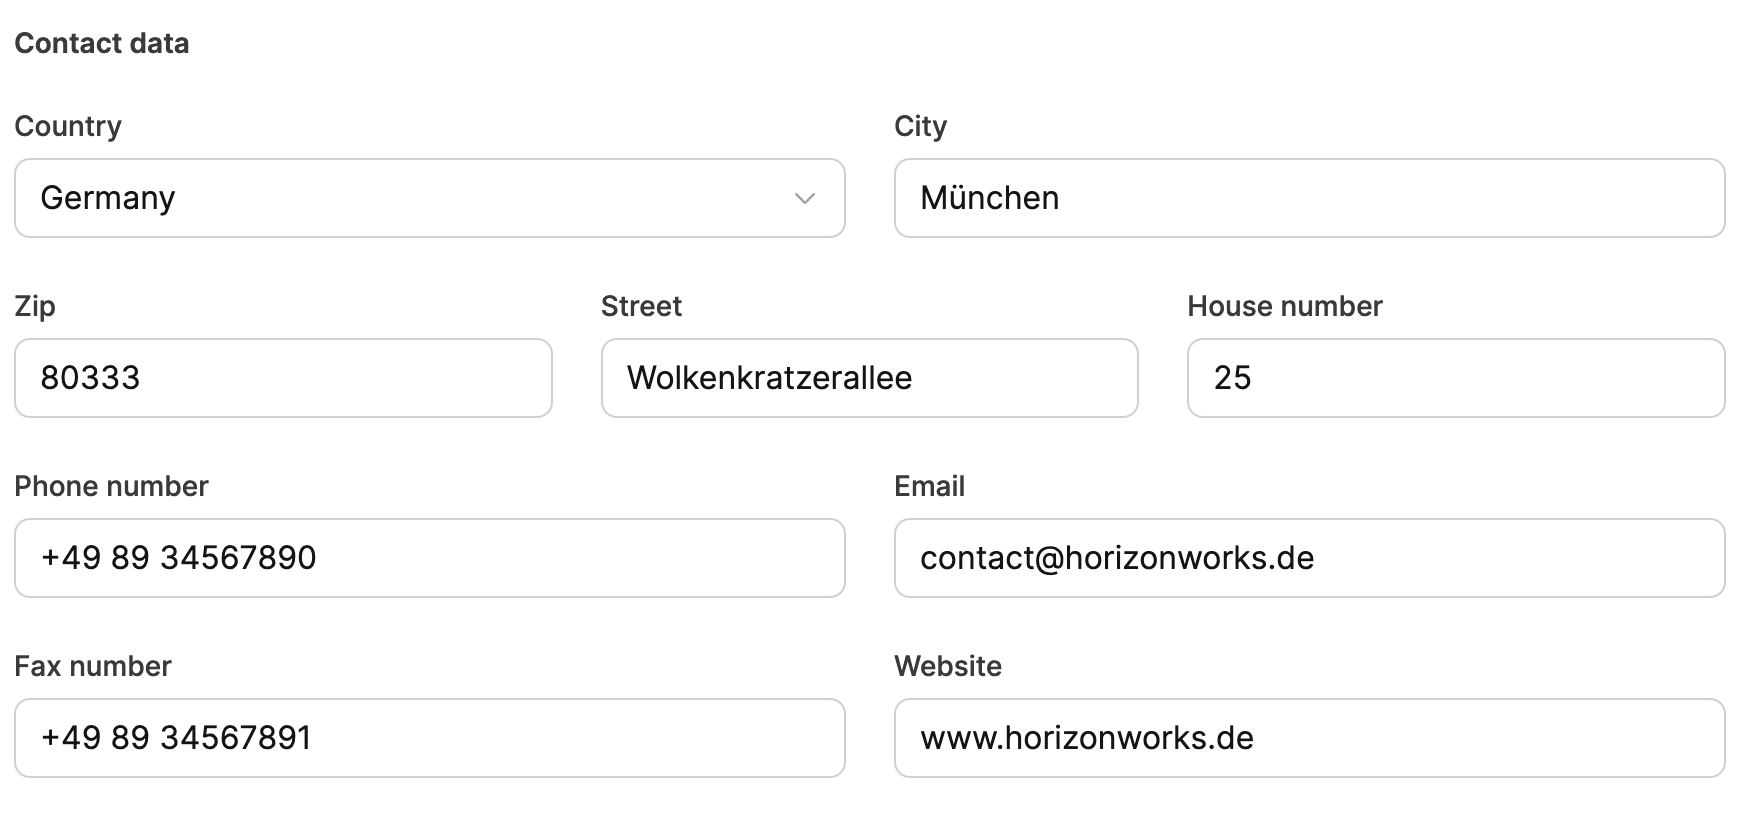
Country / City / Postal Code / Street / House Number
Phone number and fax number
Email address and website
This info appears in documents, invoices, and reports when you add it there.
Enter the legally relevant data of the organization here:
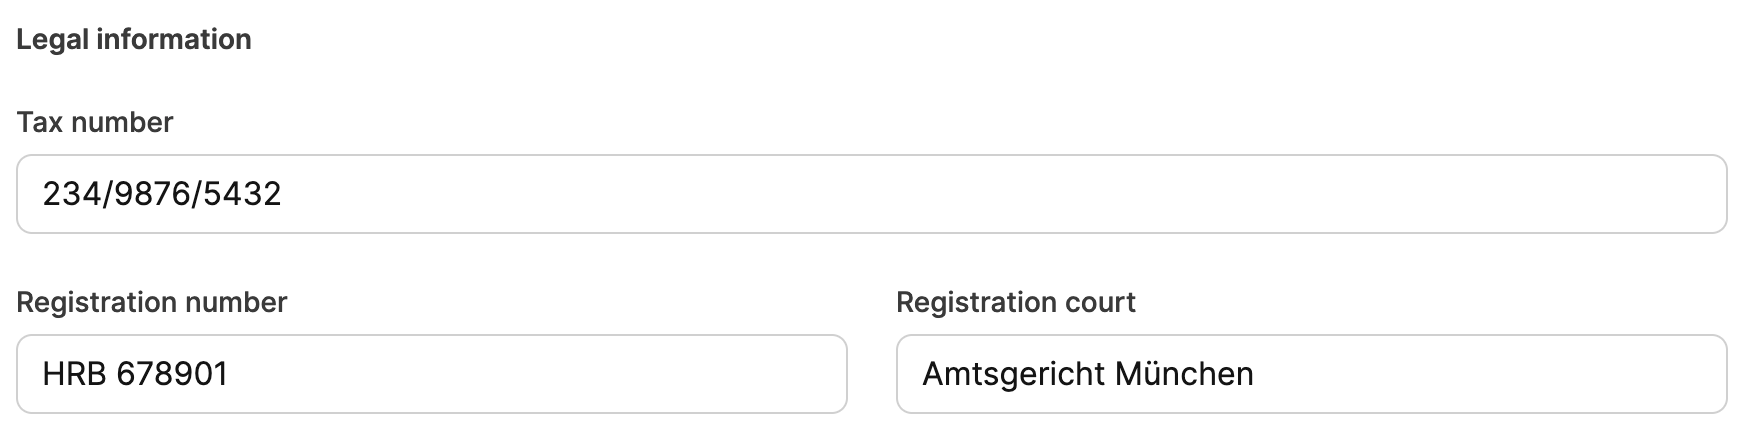
Tax number
Register number
Registry court
This info is used, for example, when creating invoices or in legal docs.

In the Notify users about journal entries field, you can choose which internal users get notified when new entries (like feedback, meeting notes or contact histories) are added to the organization’s journal.
