The pool view in Leadtime offers, unlike “Big Picture,” a cross-project overview of all tasks an employee is responsible for.
It’s used for prioritizing, weekly planning, and managing tasks that are spread across multiple client projects.
You’ll find it under Planning → Pool.
The pool view gathers all of an employee’s tasks that are listed in the Accountable field. This allows team leads and account managers to plan together which tickets should be handled in which order.
About Big Picture: Big Picture
In the weekly planning meeting between an account manager and their team lead, they go through the pool together:
Review: Check completed tasks, discuss open tickets.
Re-prioritization: Move blocked or waiting tickets to the right.
Goal planning: Add new tasks to the left so they get done first this week.
Sync with developers: Mark important tickets to specifically get them moving.
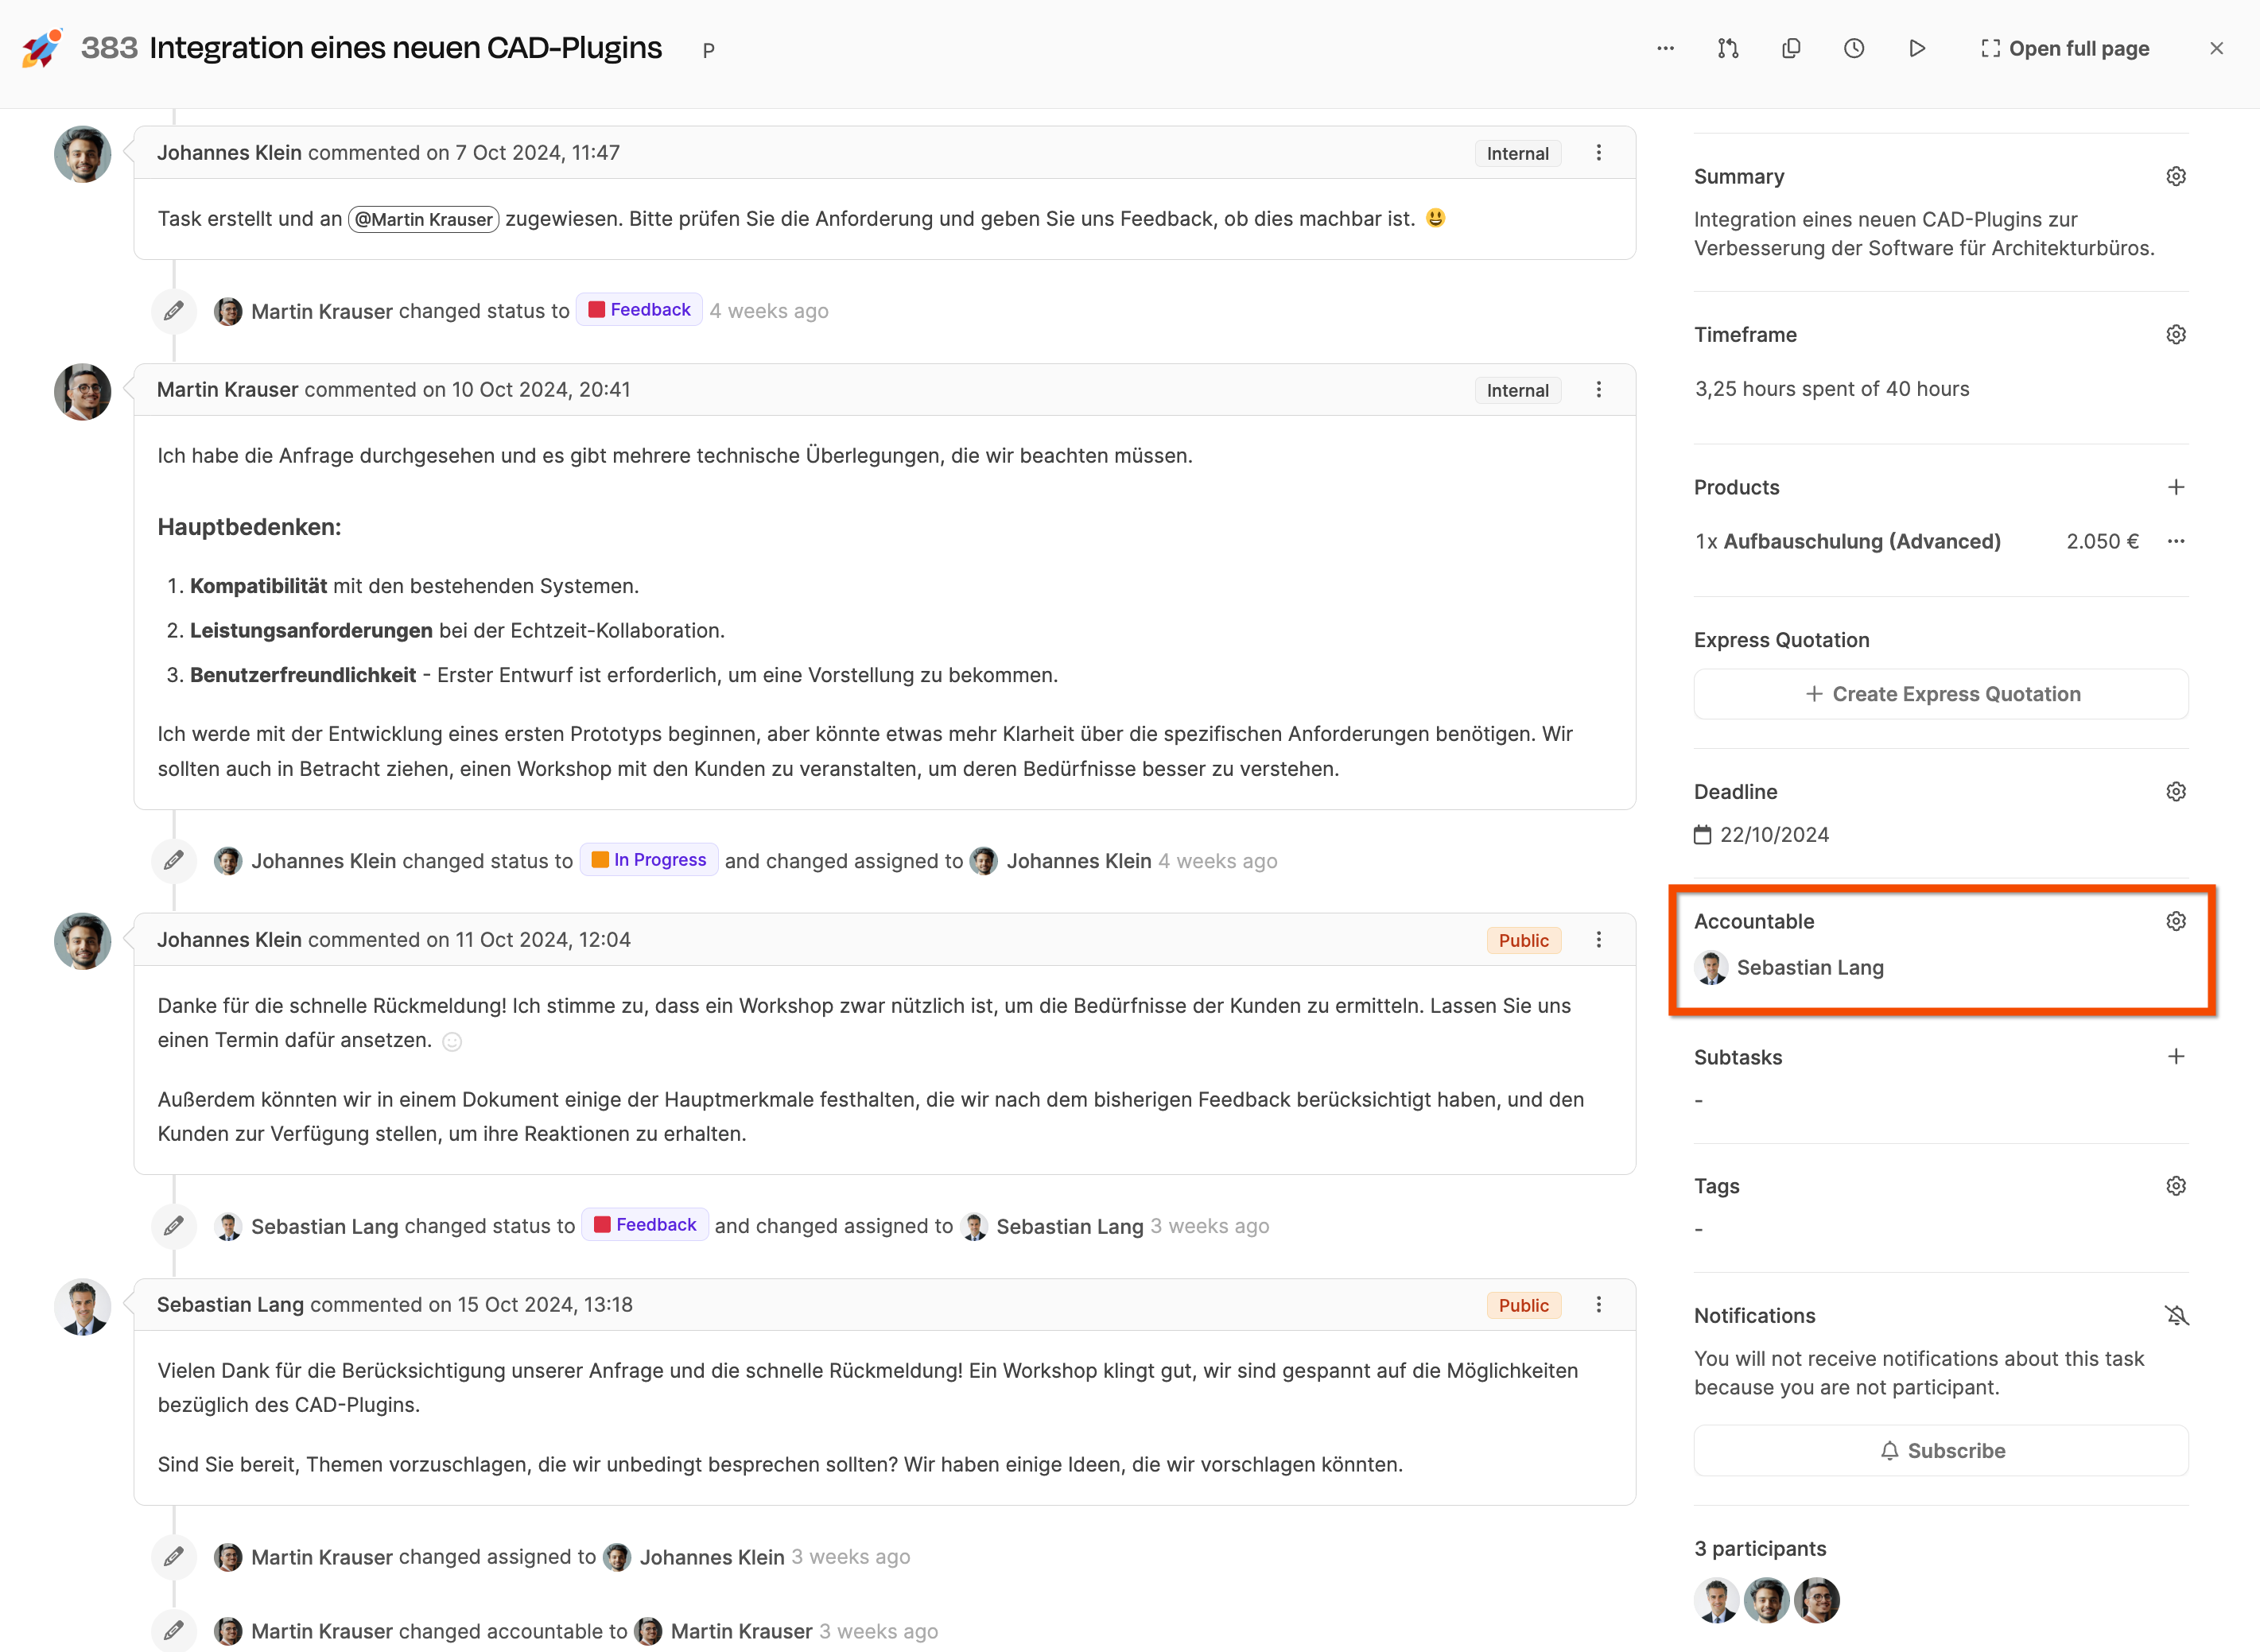
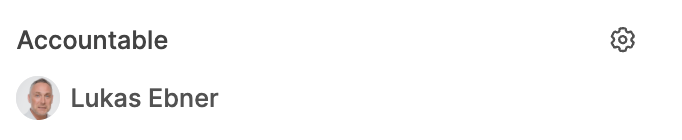
The Accountable field in the ticket’s right sidebar shows whose pool the task is shown in.
By default, the person who created the ticket is listed as accountable.
Responsibility can be changed at any time, for example when handing over a customer or project internally.
Sorting projects
You can sort the projects in your own area vertically.
Prioritization
Within a row, you can rearrange tasks horizontally by drag & drop. The order shows the priority – the most important one is always on the left.
Planning view
The pool is often used in planning meetings to prioritize tasks together with the team lead or to define weekly goals.
With the progress bar and the comment view, blockers and open questions can be spotted quickly.
Combining with Big Picture
For a more detailed project view, you can open the project's Big Picture right from any project row.
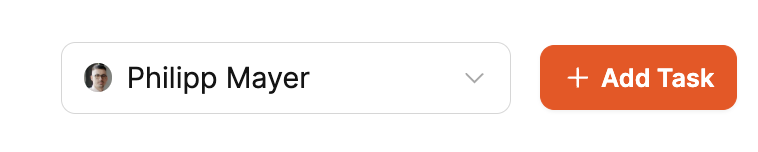
You can use the dropdown in the top right to pick who’s pool you want to see.
Only users with the right permissions can open other people's pools too.

Summary / Last comment: Toggle switch to switch between ticket summary and last comment.
Zoom: Scale between 50% and 150% (default 100%) to show more or less cards at once.
Add Task: Creates a new ticket that's automatically assigned to the currently selected person.

At the top right, two rings show:
Tasks resolved → Number of completed tasks.
Hours spent → Ratio of logged hours to estimated hours.
Each project row shows tasks by tracker type (e.g. Feature, Bug, Task).
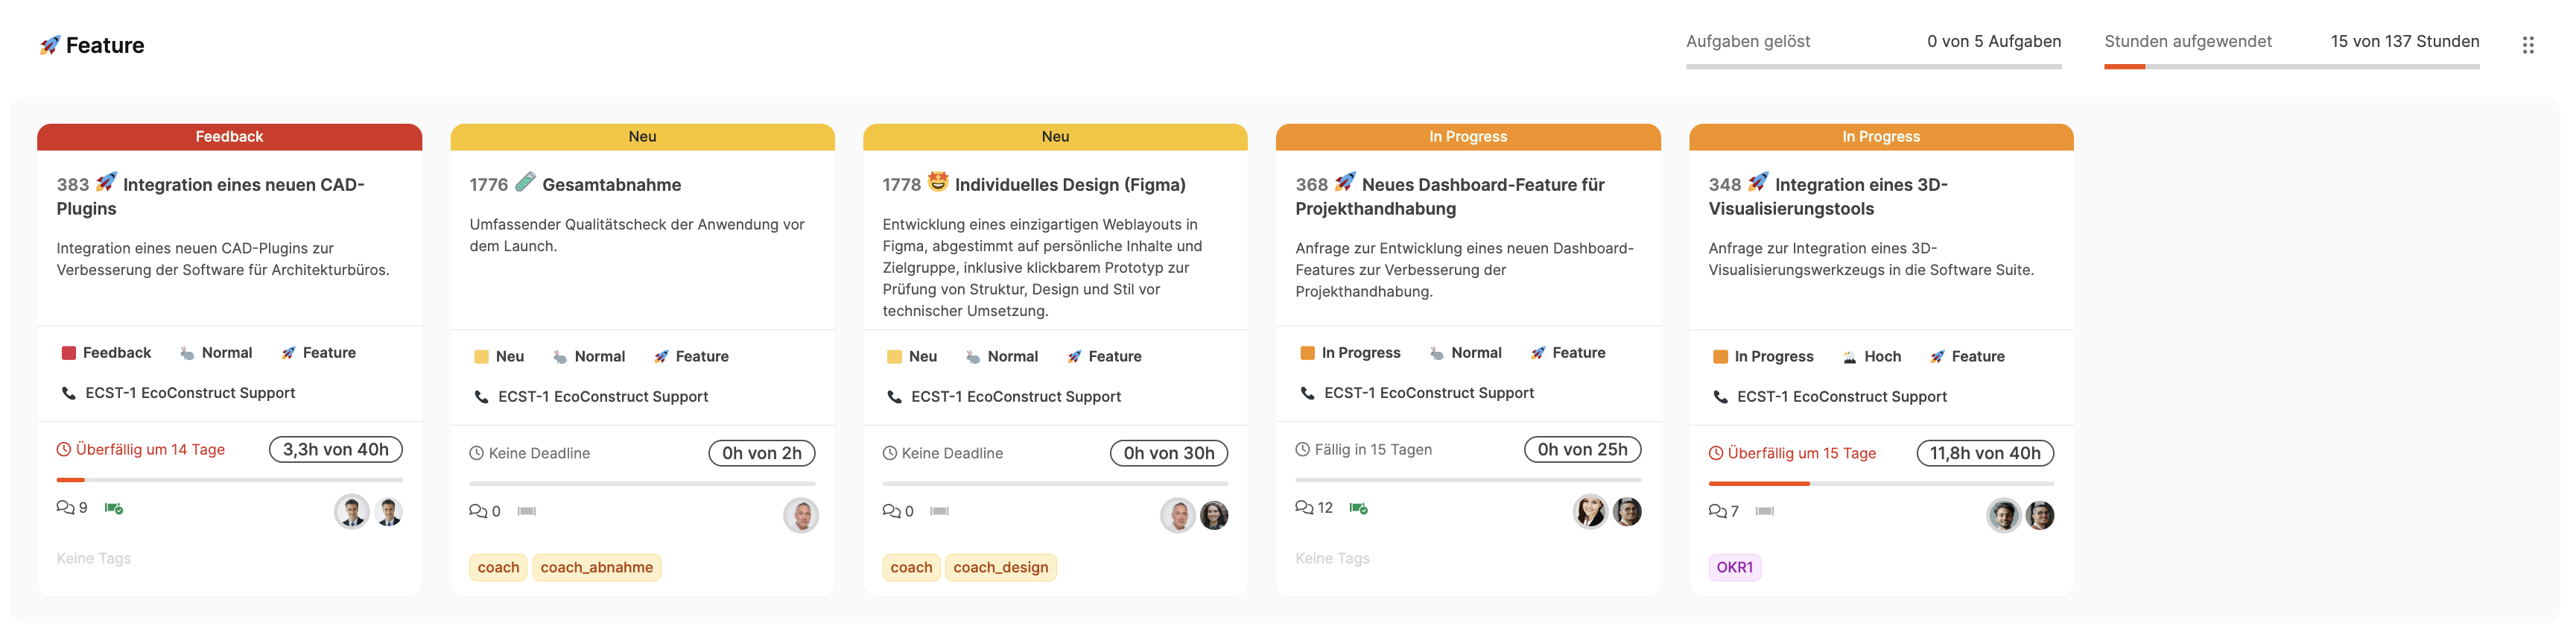
Projects can be sorted by drag & drop.
Within projects, trackers can also be rearranged.
With the Big Picture button, you go straight to the project-specific board view.
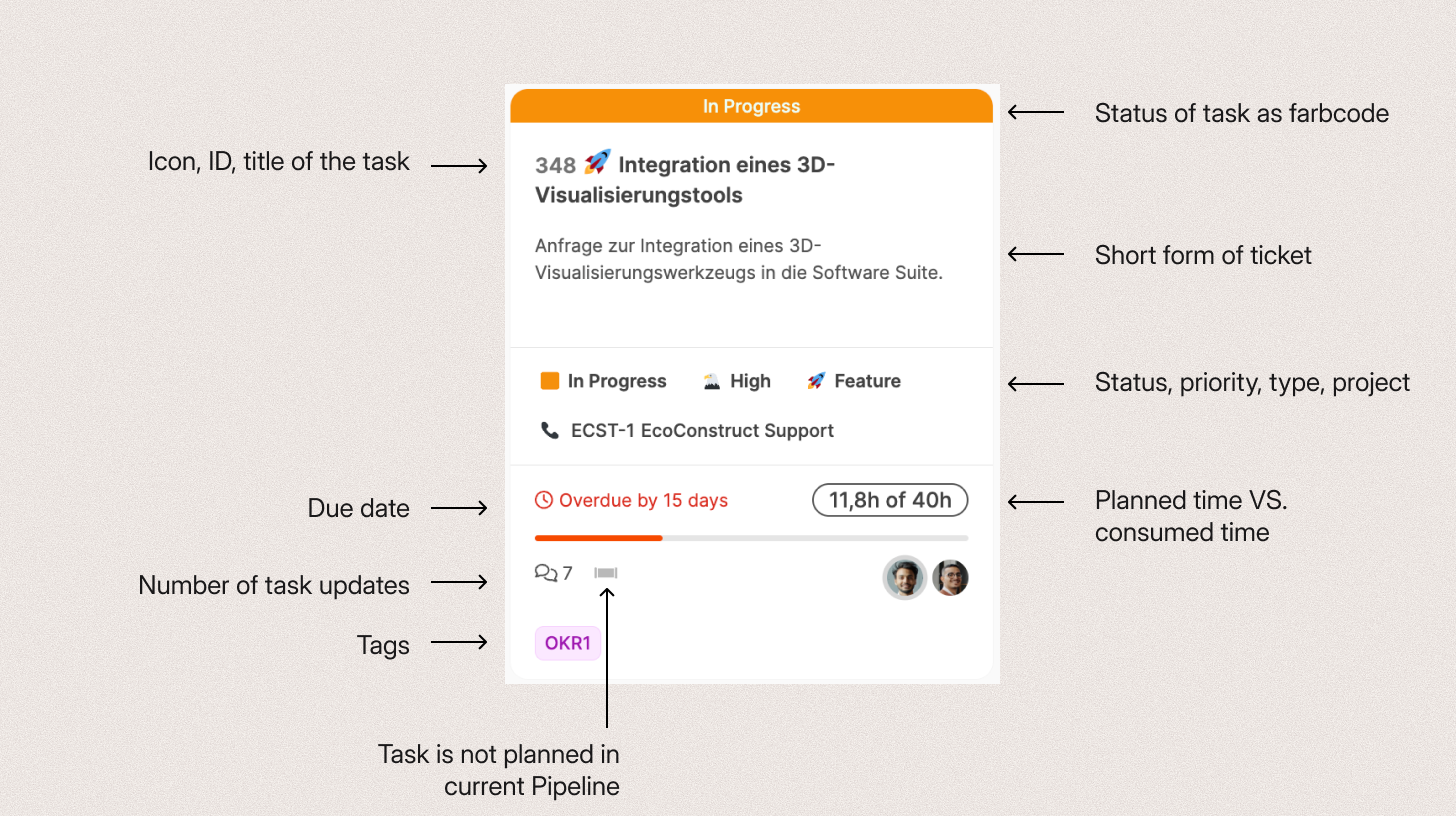
Each card stands for a ticket and quickly shows the most important info:
Title, ID and description
Status, Priority, Task type and Project name
Deadline and Time status (e.g. 11.8 h of 40 h)
Number of comments and Pipeline status
People involved (right: currently responsible, left: stakeholders)
Tags (e.g. OKR, internal marker)
Color codes for status:
🟡 New
🟠 In Progress
🟥 Feedback
🟢 Resolved
⚪ Backlog
Cards can be moved horizontally – left = higher priority.
Click on a card to open the ticket details view.
Compare the card elements with the elements of a ticket Edit tasks
