You can find the project list in the main menu under Projects. This overview helps you manage all your internal and external projects in one place. It lets you quickly filter, sort, prioritize, and open individual projects. The list is the starting point for portfolio management, tracking project status, and setting priorities.

About how projects are structured in Leadtime: Project Structure
The project list displays all active projects in a table and gives you different tools for navigation and analysis.
Tabs
All Projects: Complete project overview
Favorites: Projects you marked manually
Internal Projects
External Single Projects
External Ongoing Projects
Value Groups A–D: Classification by business value
Archived Projects: finished or paused projects
Quick Search
Filters by name, abbreviation or organization
Add Filter
Additional filter options like status, phase, category, value group or tags
You can combine several filters
Sorting
Through the “Recently edited …” menu you can choose sorting orders (for example, by most recent)
Create project
With Create you can set up a new project with organization, project ID, categories, versioning, and settings
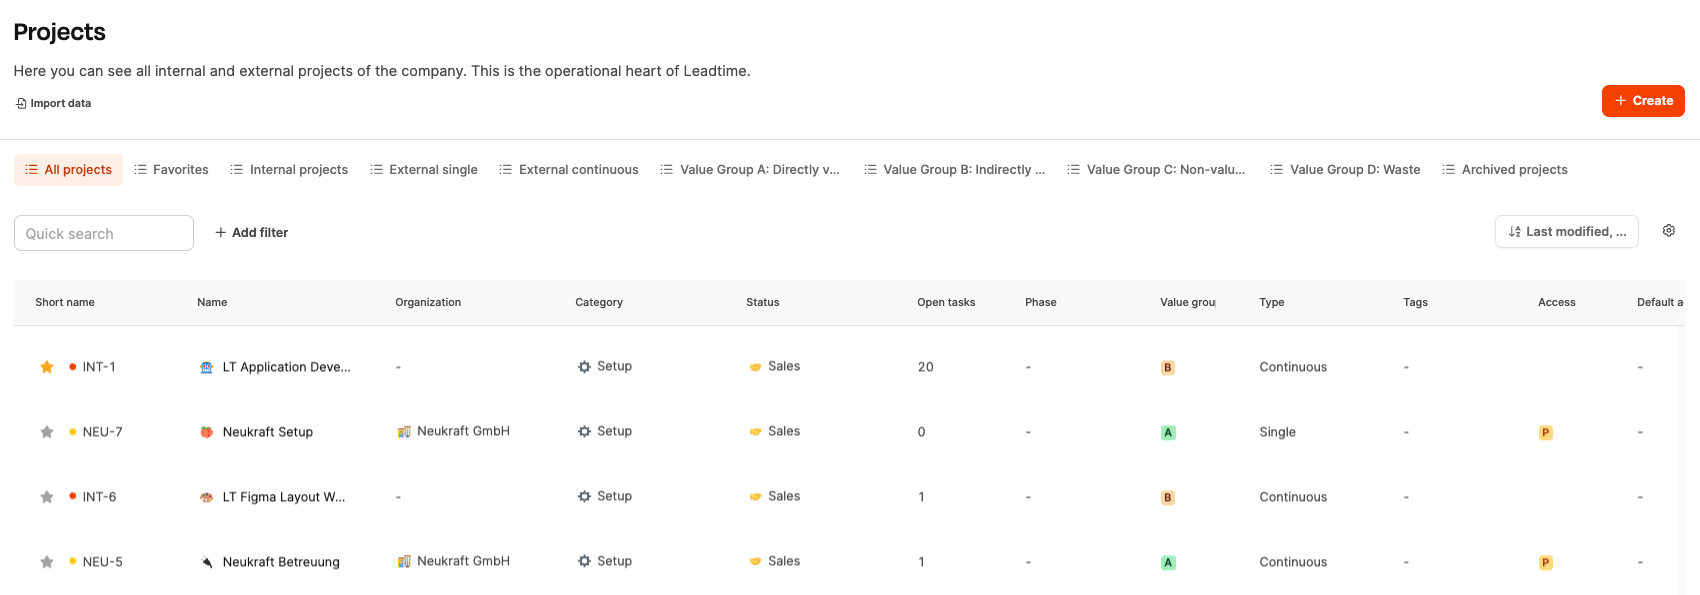
The table contains, among other things:
Short name: unique project identifier (e.g. WOVA-1)
Name: project title
Organization: related customer or internal division
Category: project type (e.g. onboarding, website project)
Status: current progress status (e.g. sales, implementation, billing, done)
Open tasks: number of tickets not done yet in the project
Phase: current step in the project
Value group: classification by usage value
Type: one-off or ongoing project
Tags: extra categorization (e.g. industry)
Access: permission level
Standard version: saved project version (if defined)
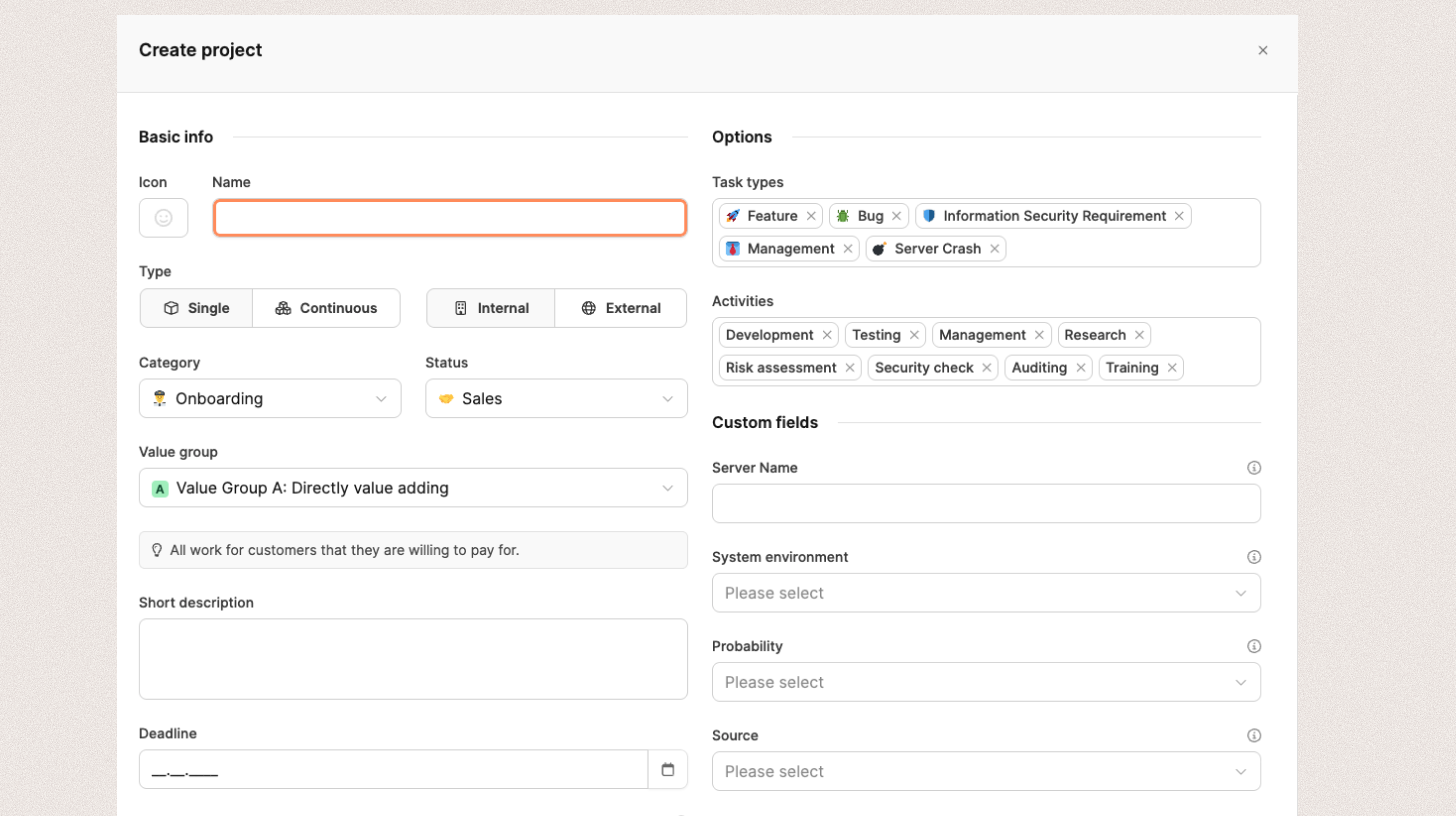
The Create Project section lets you add new projects with all relevant info, responsibilities, and classifications.
To create a project, fill out the Create Project form. It's split into two main sections:
Basic info (left side): Here you enter the basic details about the project.
Options and fields (right side): Here you can add details, classifications and advanced info.

Go to Projects in the main navigation.
Click + Create in the top right.
The form Create Project opens in a new window.
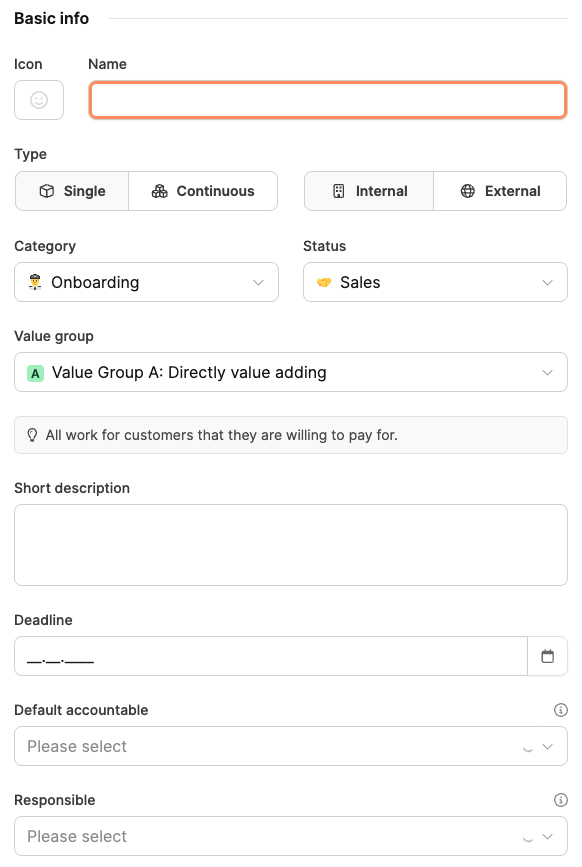
In the left section of the form, you enter the project's basic details.
Fields:
Icon: A symbol or emoji to visually identify the project.
Name: Full project name (e.g. Website for HorizonArc).
Type:
Single → for completed, clearly defined projects.
Ongoing → for open projects with recurring tasks.
Internal / External:
Internal → Projects within the company (e.g. accounting, marketing).
External → Client projects or jobs.
About the structure of projects in Leadtime: Project structure
Category: Functional area or project type (e.g. Onboarding, Support, Implementation). Categories can be defined in the workspace settings.
Status: Current project status, e.g. Sales, Billing or Implementation.
Value Group:
A – Direct value creation
B – Indirect value creation
C – Not value creating
D – Waste
About Value Groups
Short description: Short explanation of what the project is about.
Deadline: Optional end date.
Default responsible: A person who by default is responsible for handling the tasks in this project.
Sales manager: Person in charge of sales activities.
These fields are the basis for all analytics and reports in Leadtime. So you should make sure they're filled out fully and consistently.
On the right side, you'll add detail info, activities, and custom fields.
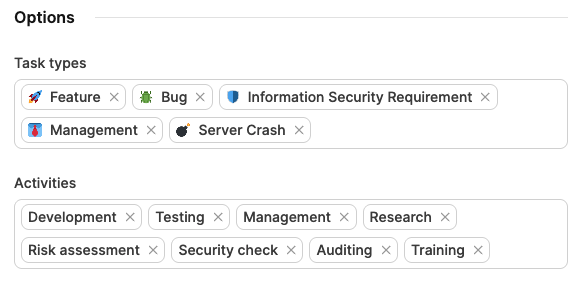
Task types:
Defines which ticket types you can use in the project.
Examples: Feature, Bug, Management, Server issue, Information security requirement.
Create task types: Custom task types
Activities:
Add all relevant activities that might occur within this project, e.g.
Development, Testing, Management, Research, Auditing, Training.
Create work activities: Custom work activities
Custom fields:

These fields can be used for project-specific purposes to collect additional info. You can set up custom project fields in the workspace settings.
Create custom fields: Custom Fields
Tags:
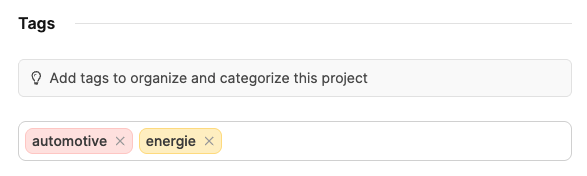
They let you categorize projects by topic, team or the kind of work.
Tags make later filtering in the project overview easier.
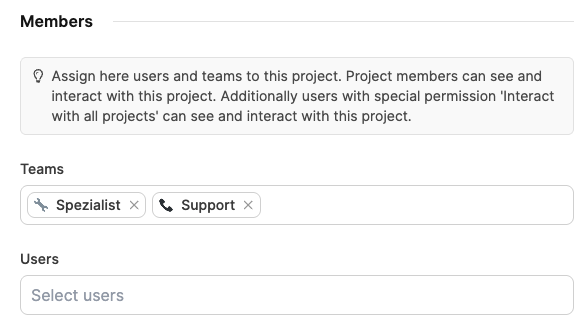
At the bottom of the form, you decide which users and teams can work on the project.
More about Teams
Fields:
Select teams: Assign one or more teams to the project.
Select users: Add single team members who are allowed to create, edit, or log time on tasks.
Project members can view, edit, and interact with the project.
Users with the global permission Interact with all projects also have access.
After filling out the form, click Save in the bottom-right corner.
The project is created and will show up in the project overview with all related information.
