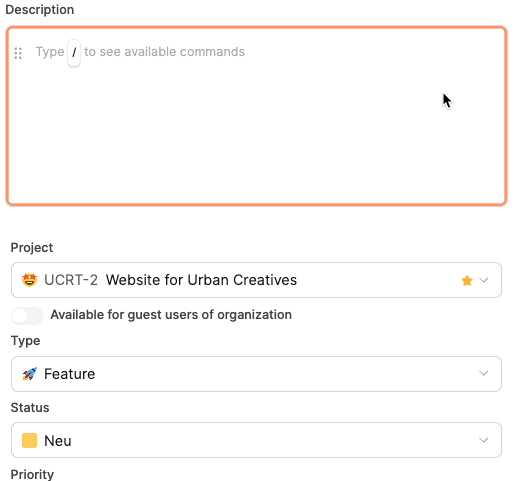
The editor in Leadtime is the universal text input tool and is used throughout the whole app – everywhere you can enter or edit text.
You'll see it in tickets, projects, comment fields, notes, checklists and internal descriptions in action.
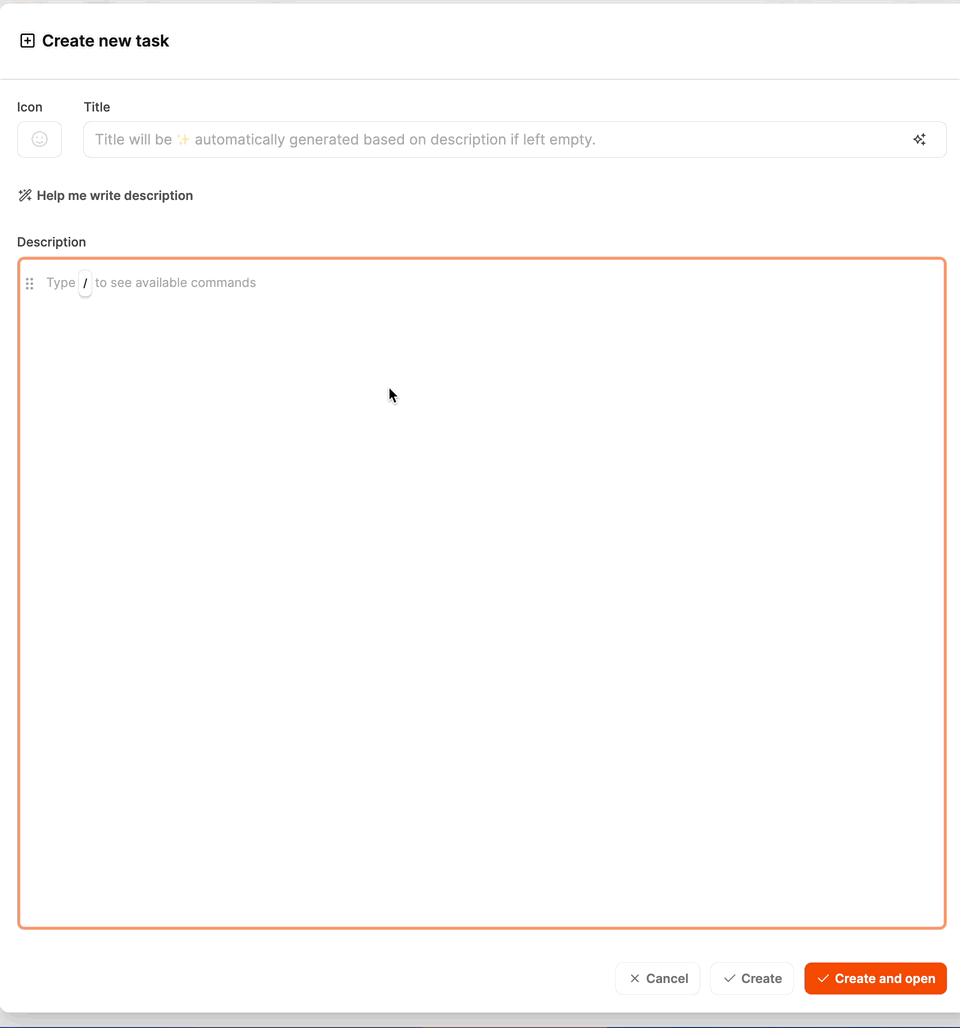
It's made to capture content clearly, in a structured and visually appealing way – from quick status updates to complex task or project documentation. Thanks to the block-based setup, you can flexibly lay out your text and expand it with media, tables or interactive stuff.
The Leadtime editor is block-based. Every piece of content – whether it's text, a list, file or image – is treated as its own block.
You can move, rearrange, delete or format these blocks however you want.
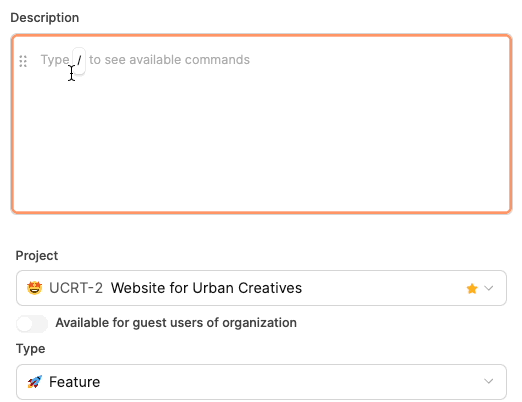
By typing a slash (“/”) you open the block menu with all available options.
This lets you quickly structure and extend your text without needing to switch tools.
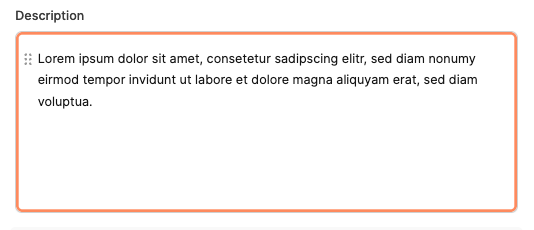
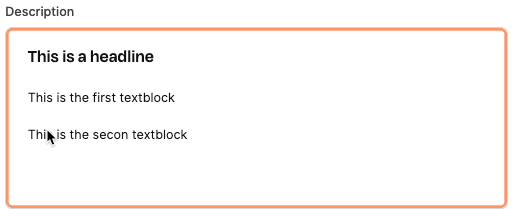
Standard block for running text.
Use it for descriptions, summaries or explanations.
Supports basic formatting such as bold, italic, code or lists.
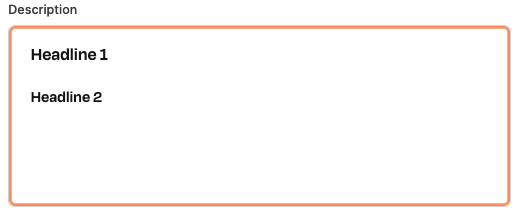
Three levels of headings to make your content clear and structured.
Heading 1: Main topic or section title
Heading 2: Subtopic
Heading 3: Detail or subsection
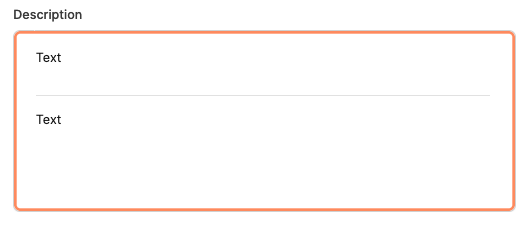
Adds a horizontal line to separate sections – perfect for making long texts easier to read.
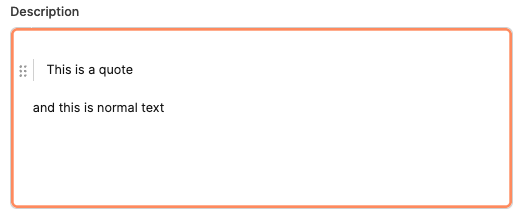
Used to highlight important notes, quotes, or external statements.
Especially helpful for documenting customer feedback or test comments.
Lets you add emojis for some visual variety or emphasis.
Shortcut: : followed by the emoji name.
Lets you mention other users with @.
They automatically get a notification, which helps real-time collaboration.
Links to another ticket inside Leadtime.
That way, you can clearly document dependencies or references.
Shortcut: ! followed by the ticket number or the title.
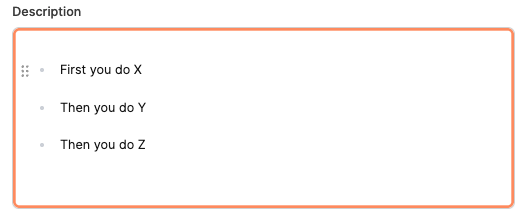
Creates an unordered list—perfect for checklists, ideas, or quick notes.
Example:
Item 1
Item 2
Item 3
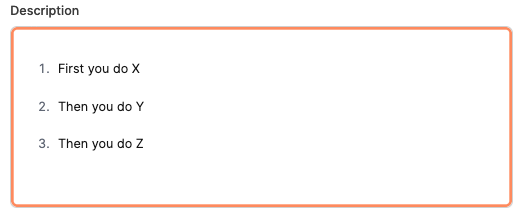
Creates a numbered list, for example to show steps or sequences.
Example:
Preparation
Execution
Finish
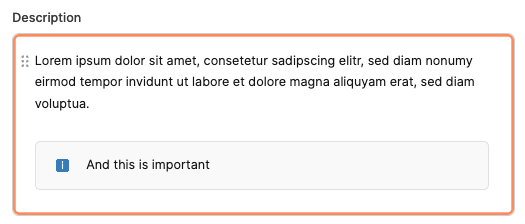
A highlighted block for especially important notes, warnings, or summaries.
Can also be decorated with emojis or colors.

Inserts an image into the description, such as a screenshot, diagram, or UI documentation.
Perfect for support cases or visual project work.
Lets you insert video files right into the text, like for demos or bug reports.
Videos show up inline and you can play them right away.
Use this when a video file is too big for direct upload (over 50 MB).
You can, for example, embed a YouTube or Vimeo link here.
Lets you upload and attach files – like PDFs, ZIP archives or Excel sheets.
Files stay saved in the ticket and are accessible to all project members.
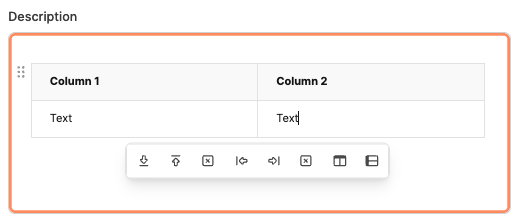
In Leadtime, tables help you organize info clearly in rows and columns – for example technical specs, task comparisons, price lists or process overviews.
You can add them right into the task description and edit them with just a few clicks.
Each table is made up of cells, which can contain text, emojis or links.
After inserting a table, a toolbar will pop up with icons to help you manage rows, columns and headers.
Buttons in the table toolbar

Add row below: Adds a new row below the currently selected row.
Add row above: Adds a new row above the currently selected row.
Delete row: Removes the currently highlighted row including all its contents.
Add column left: Inserts a new column to the left of the currently selected column.
Add column right: Adds a new column to the right of the currently selected column.
Delete column: Deletes the currently highlighted column.
Toggle header row: Turns the table's header row on or off.
Toggle header column: Turns the table's header column on or off.
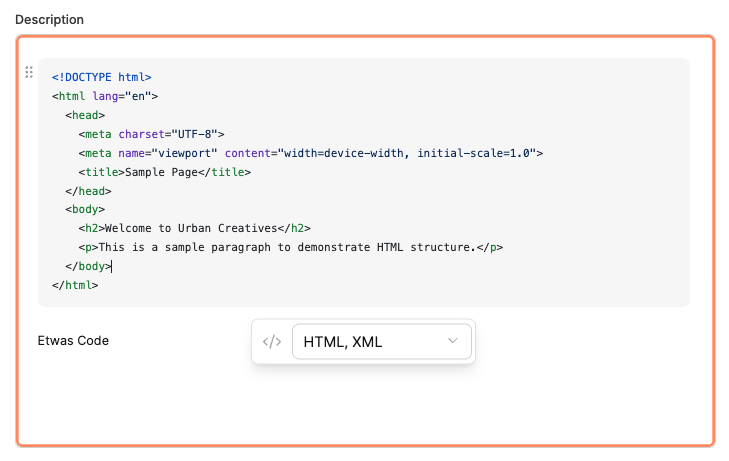
The code block is used to display and document code, configurations, or technical snippets inside tasks, projects, or tickets.
It’s especially useful for dev teams that want to include code samples, log outputs, or API structures right within a task – clear, color-coded, and with syntax highlighting.
Extra handy for devs or technical docs. A code block is an editable text area with a fixed-width font.
Below the block, there’s a small toolbar with more options:
Language selection: Here you pick the programming language your code is written in.
Leadtime supports syntax highlighting for loads of languages, including:
JavaScript
HTML / XML
CSS
JSON
TypeScript
Python
SQL

Creates collapsible sections to keep lots of content neat and compact.
Great for logs, long descriptions, or detail sections that don’t always need to be visible.

The Enhance with AI feature helps you automatically improve, structure, or rephrase text inside the editor.
It helps especially when creating clear, professional, and consistent task descriptions – like when writing bug reports, feature requests, or internal work instructions.
The feature can make your wording clearer, more concise, or stylistically consistent – without changing the meaning.
More about the AI Text Assistant
With this feature, you can automatically generate content, based on just a few bullet points or a rough description.
Leadtime creates complete texts from that – like task descriptions, error messages, or feature requirements – and automatically adjusts formatting and tone.
Super helpful when a description is outlined, but still needs working out.
