In Leadtime, tickets are opened in read-only mode as soon as they’re created. There, you’ll see the full description, all comments, status changes, time logs, and assignments in chronological order. This view is the main tool for everyone involved to keep track of progress, communication, and responsibilities.
Task list List views and Kanban boards

When you create a ticket, you define its content and structure.
In edit mode, you also see:
The complete history of all changes and comments.
The option to log time directly or make status changes.
Visibility control (public/internal) for each comment.
Access to notifications, participants, and subtasks.
This view shows the complete work history of a ticket – from creation, through all steps, to completion.
How to create tasks: Create task
The header shows basic ticket info and quick actions:

Icon, ticket ID, and title: Uniquely identify the ticket.
The P icon stands for “Public”: So guest users have access to the ticket
More menu (…): Delete or rename task
Copy branch: The branch icon in the ticket view automatically generates the right Git branch name and copies it to your clipboard. This way, devs can spin up a branch in their dev environment straight from Leadtime, linked to the ticket.
Time tracking: Log time to the ticket.
How time tracking works:
Start timer
Open full page: Open ticket in full page view.
Close (×): End ticket view.
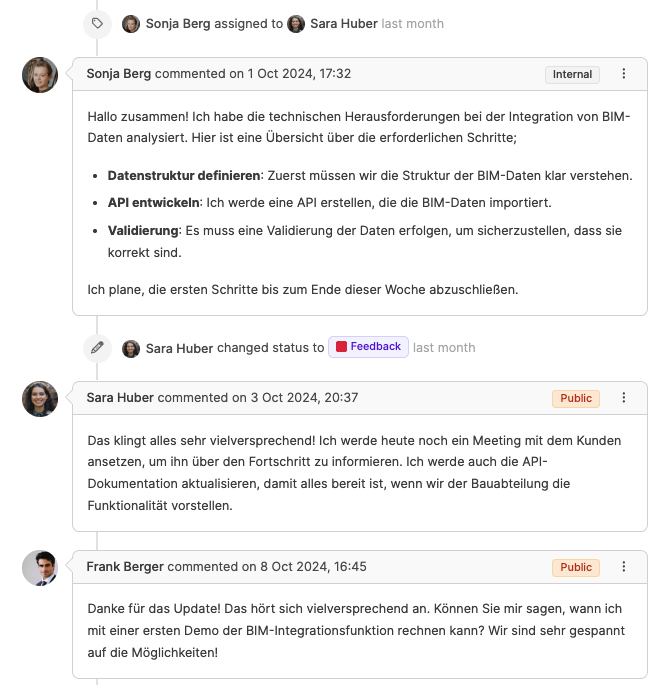
The main area contains the entire activity history for the ticket:
Description: Detailed task description, edited with the Leadtime Editor.
Comments: Ongoing communication between participants, either internal or public.
Updates: All status changes, assignments, or time bookings are automatically documented.
Badges: Indicate if an entry is Public (visible to guests) or Internal (visible only internally).
About Guest Users
In the sidebar, you'll find all ticket metadata and control fields:
Project: Link to the parent project.
Type: Task classification (e.g. Feature, Bug, Management).
Status: Current progress, can be changed by clicking (New, In Progress, Done).
Priority: Classification of urgency.
Assigned to: The current handler, can be changed anytime.
Responsible: The person who's responsible in-house or to customers for the matter (e.g. caseworker).
Summary: Short description of the content, created automatically or manually.
Deadline & Estimate: End date and planned effort in hours.
Tags: Categorize tickets across projects (e.g. topics, components, epics). Tags can be pulled automatically from project components. (Tags in tasks)
Subtasks: List of smaller tasks, each with their own status and assignment. (Subtasks)
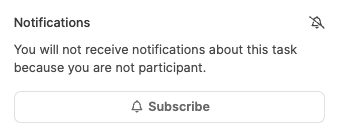
The Notifications section in a ticket controls whether you get notified about changes, comments or status updates. This helps you keep track of the progress of tasks you're involved in or that matter to you.
When someone assigns, mentions (@Name), or comments, everyone involved gets automatic in-app or email notifications.
With Subscribe you can add yourself to a ticket to get updates.
Through the message system

The Participants section shows everyone who's involved in a ticket – so, teammates who've commented, worked on it, logged time, or made changes. This way, it's clear who's actively involved in the task and who's being kept in the loop about how it's going.
About Participants of a task

Below the ticket history, you'll see the comment section:
Text field: Supports the same block-based editor as when creating.
Internal comments: Visible only to internal team members.
Public comments: Visible to guest users of the organization (for example, customer feedback).
Update: Saves the comment and stays on the ticket.
Update and close: Saves and closes the view.
Book time: Log working hours right from the comment.
Assign to: Pass the ticket on to another co-worker.
Change status: Change the status right along with the comment.
